Getting Started
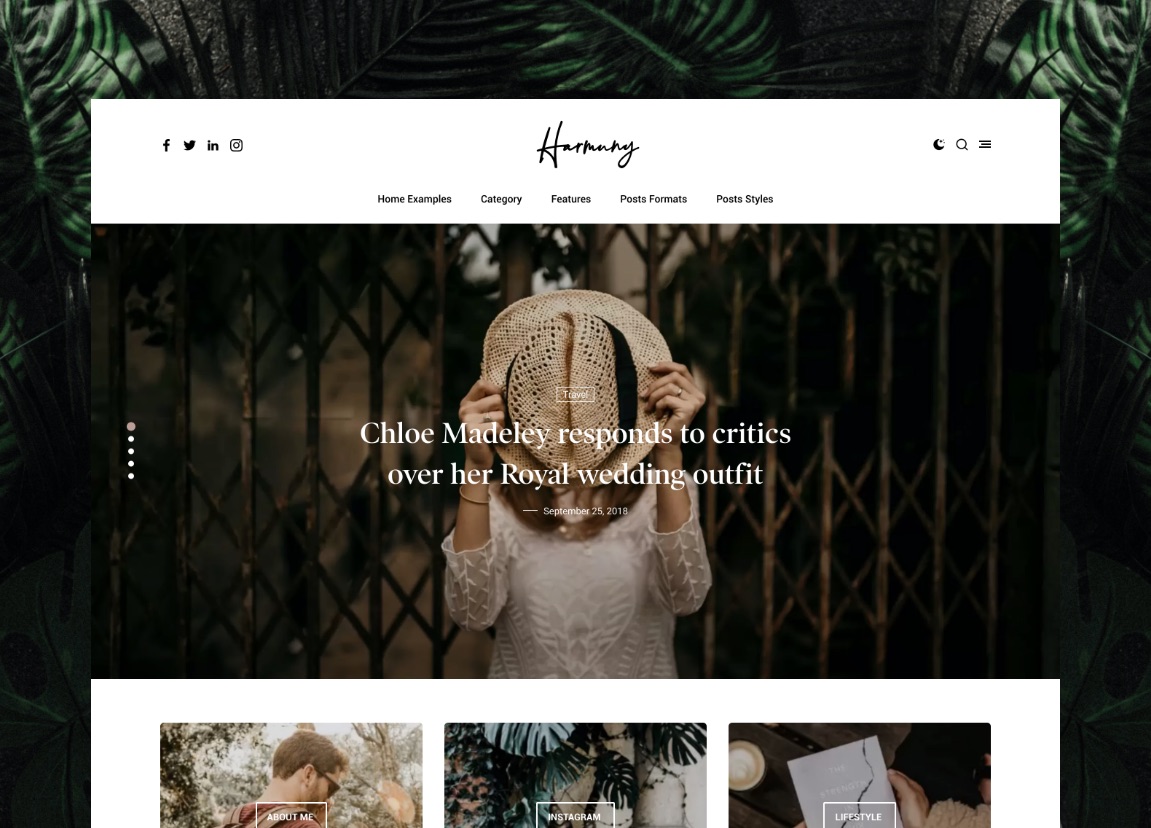
It’s super simple and easy to setup, you will get high quality, responsive, well crafted blog out of the box to make writers only focuses on writing content, and it has great typography to make your fans and followers focus on every word you write.
1. Getting Started
How To Install A Theme Via WordPress?
To upload through your Dashboard, select “Appearance” and then “Themes”. Next, select the “Install Themes” tab at the top of the page and then select the “Upload” link, right above the search field. Choose your file and select “Install Now”. Once the theme is fully uploaded and installed, click “Activate” to activate the WordPress theme.
The theme files will be stored on your server in the wp-content/themes/ location.
When uploading your theme with the installer, please ensure you are uploading the theme .zip file, not the entire package you downloaded. In this case, you will be uploading harmuny.zip.
How To Install A Theme Via FTP (File Transfer Protocol)
To manually upload your new WordPress theme, login with your credentials to your website and locate the wp-content folder in your WordPress install files. Upload the un-zipped 'harmuny' folder into the: wp-content/themes folder.
Once uploaded, activate the theme by heading to the “Themes” menu in the WordPress Dashboard. Locate the harmuny theme and hit “Activate”.
Install Recommended Plugins
When you first activate the theme, you will be notified of what plugins are recommended to use with harmuny. You don't have to install each one, if you're not planning on using a particular feature. Once clicked, you will be taken to the Plugin Installation admin view, where you may install and activate each plugin, as depicted in the second screenshot below.
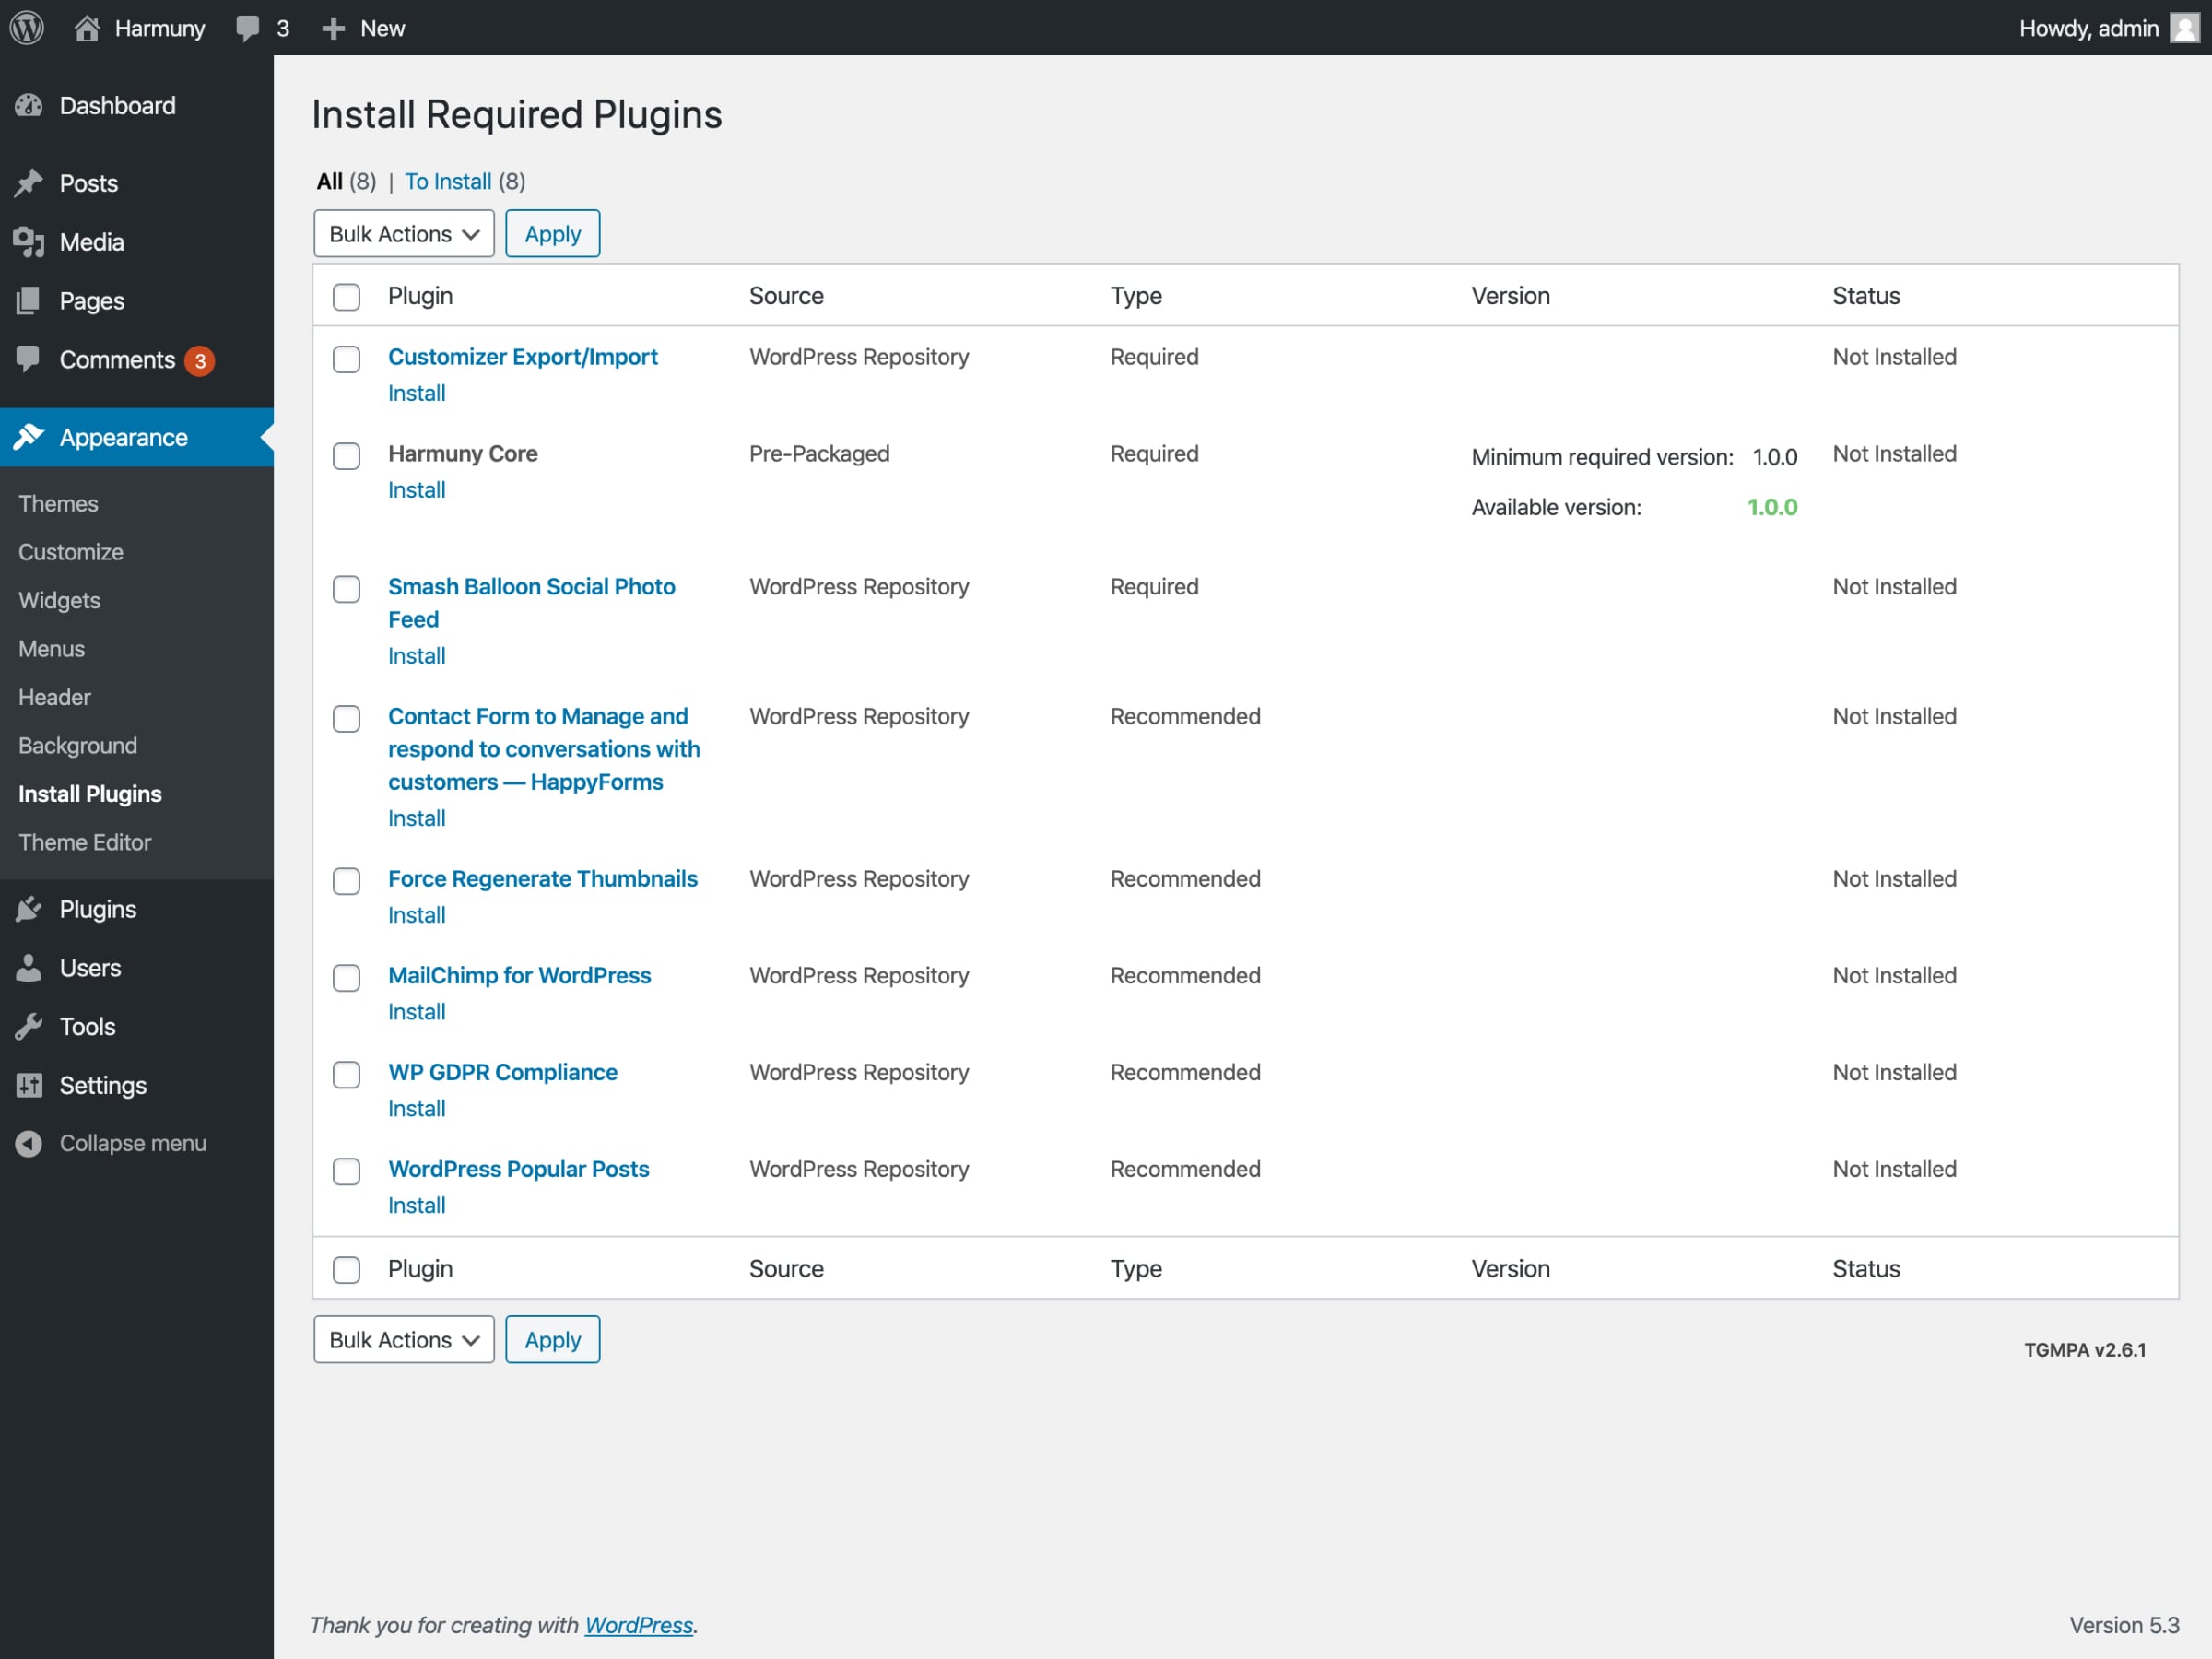 Tgmpa install
Need Help?
If you have a problem with the theme or found a bug, please get in touch. We take pride in our customer support and we will do what we can to assist you. If you are experiencing a theme issue, please first turn off all third party plugins to see if the problem persists.
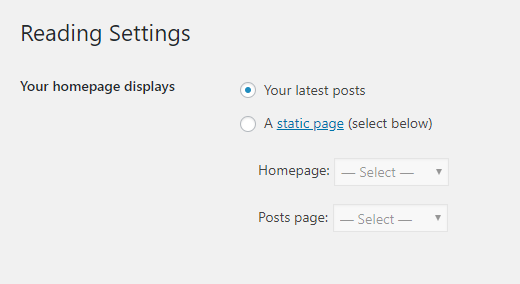
1.1 Setting your Homepage
You can have your homepage display either the Latest Posts feed or a static page of your creation.
Navigate to WP Dashboard > Settings > Reading > Homepage displays > Featured Entries and choose either option
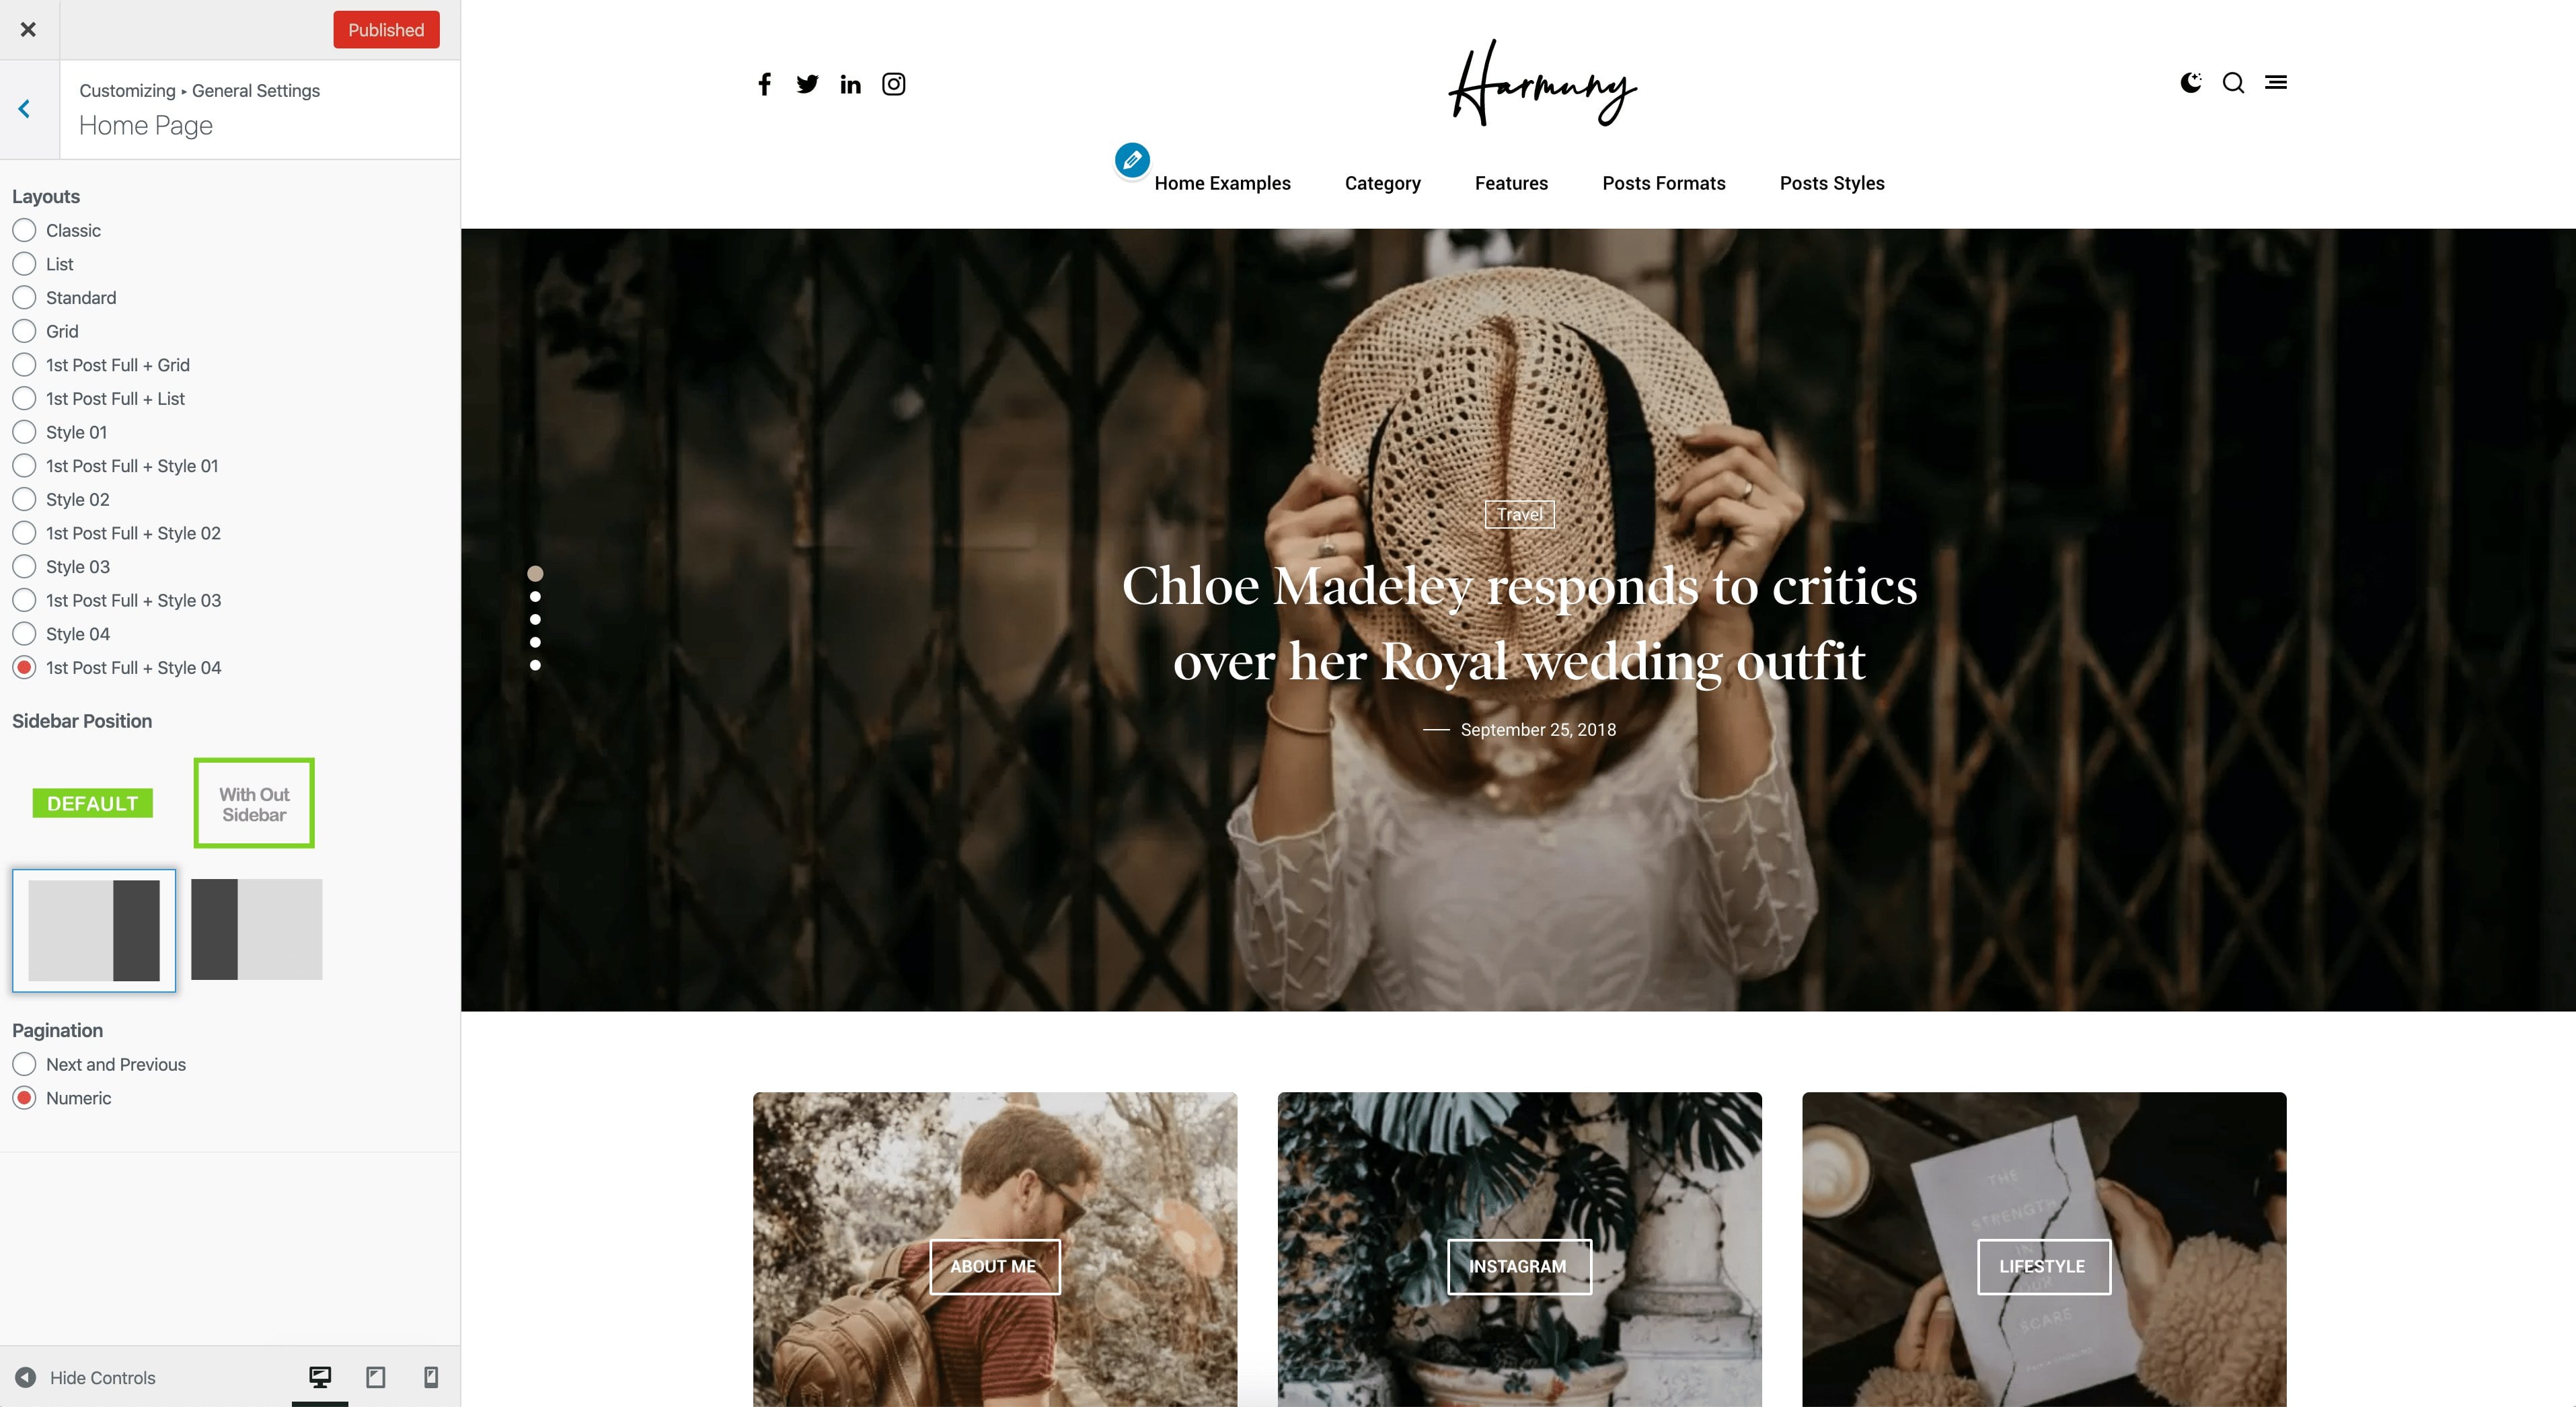
1.2. Homepage Layout And Sidebar Settings
Navigate to WP Dashboard > Appearance > Customize > General Settings > Home Page > Layouts
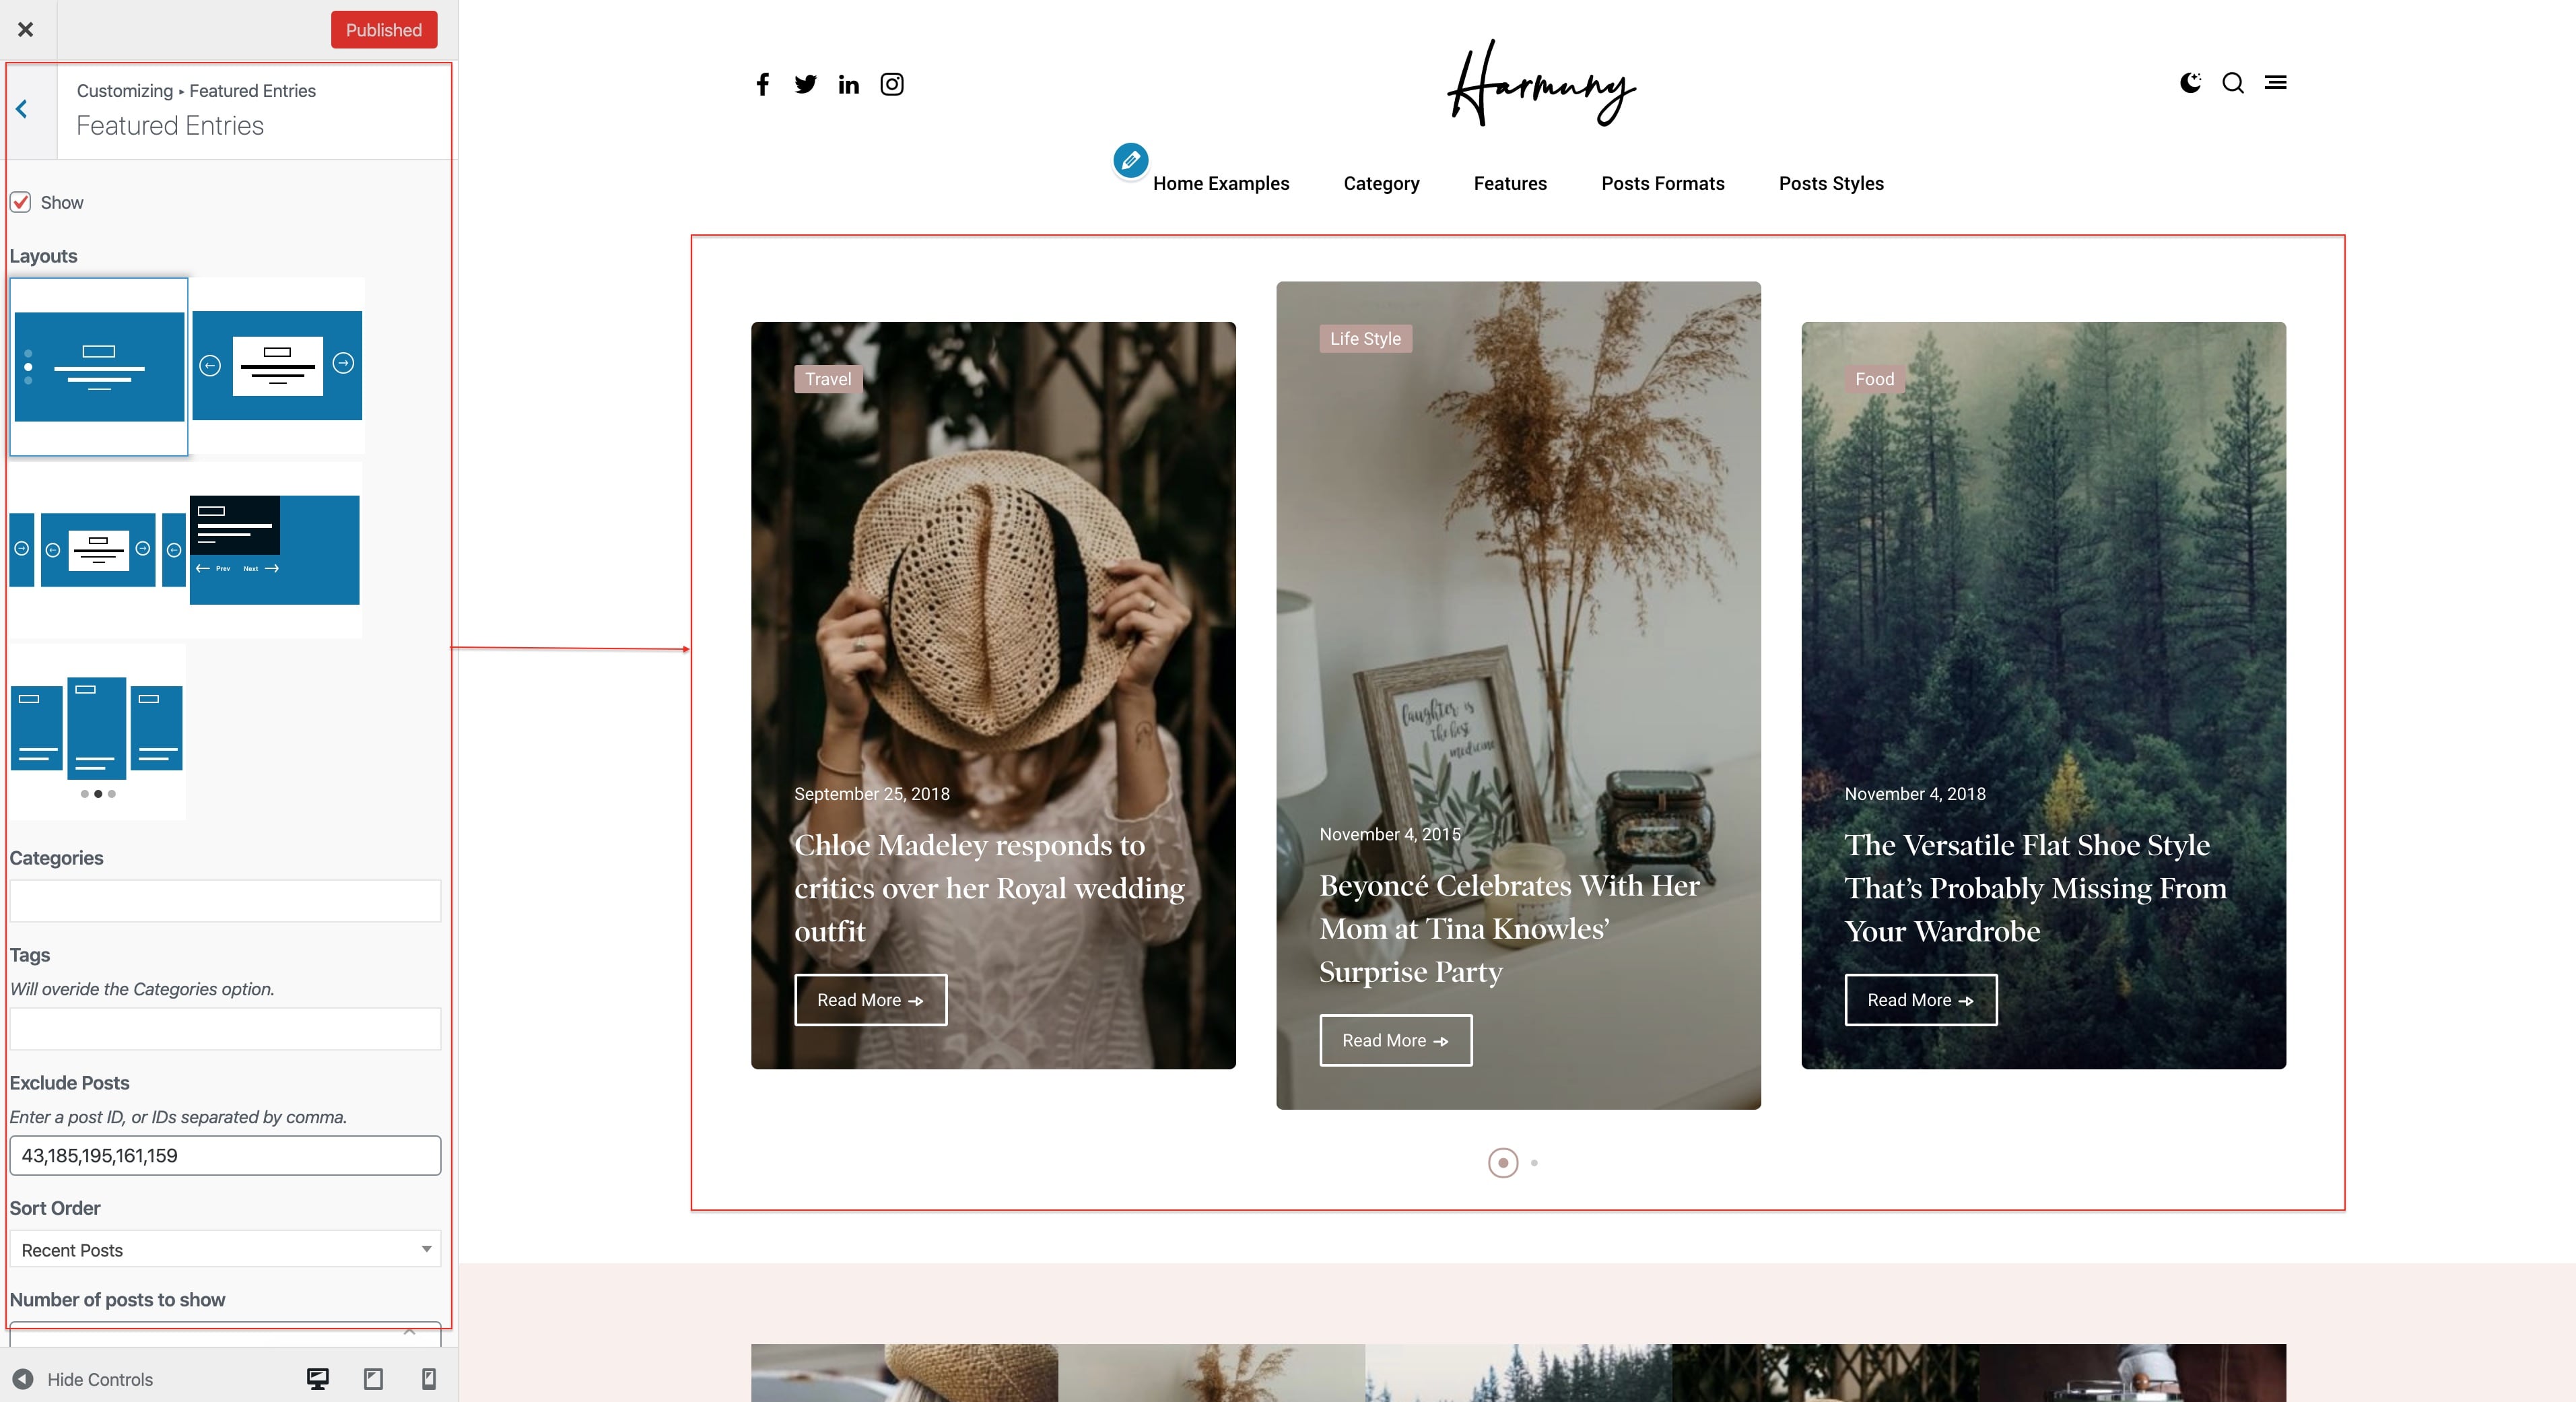
1.3. Featured Entries
Navigate to WP Dashboard > Appearance > Customize > Featured Entries > Featured Entries
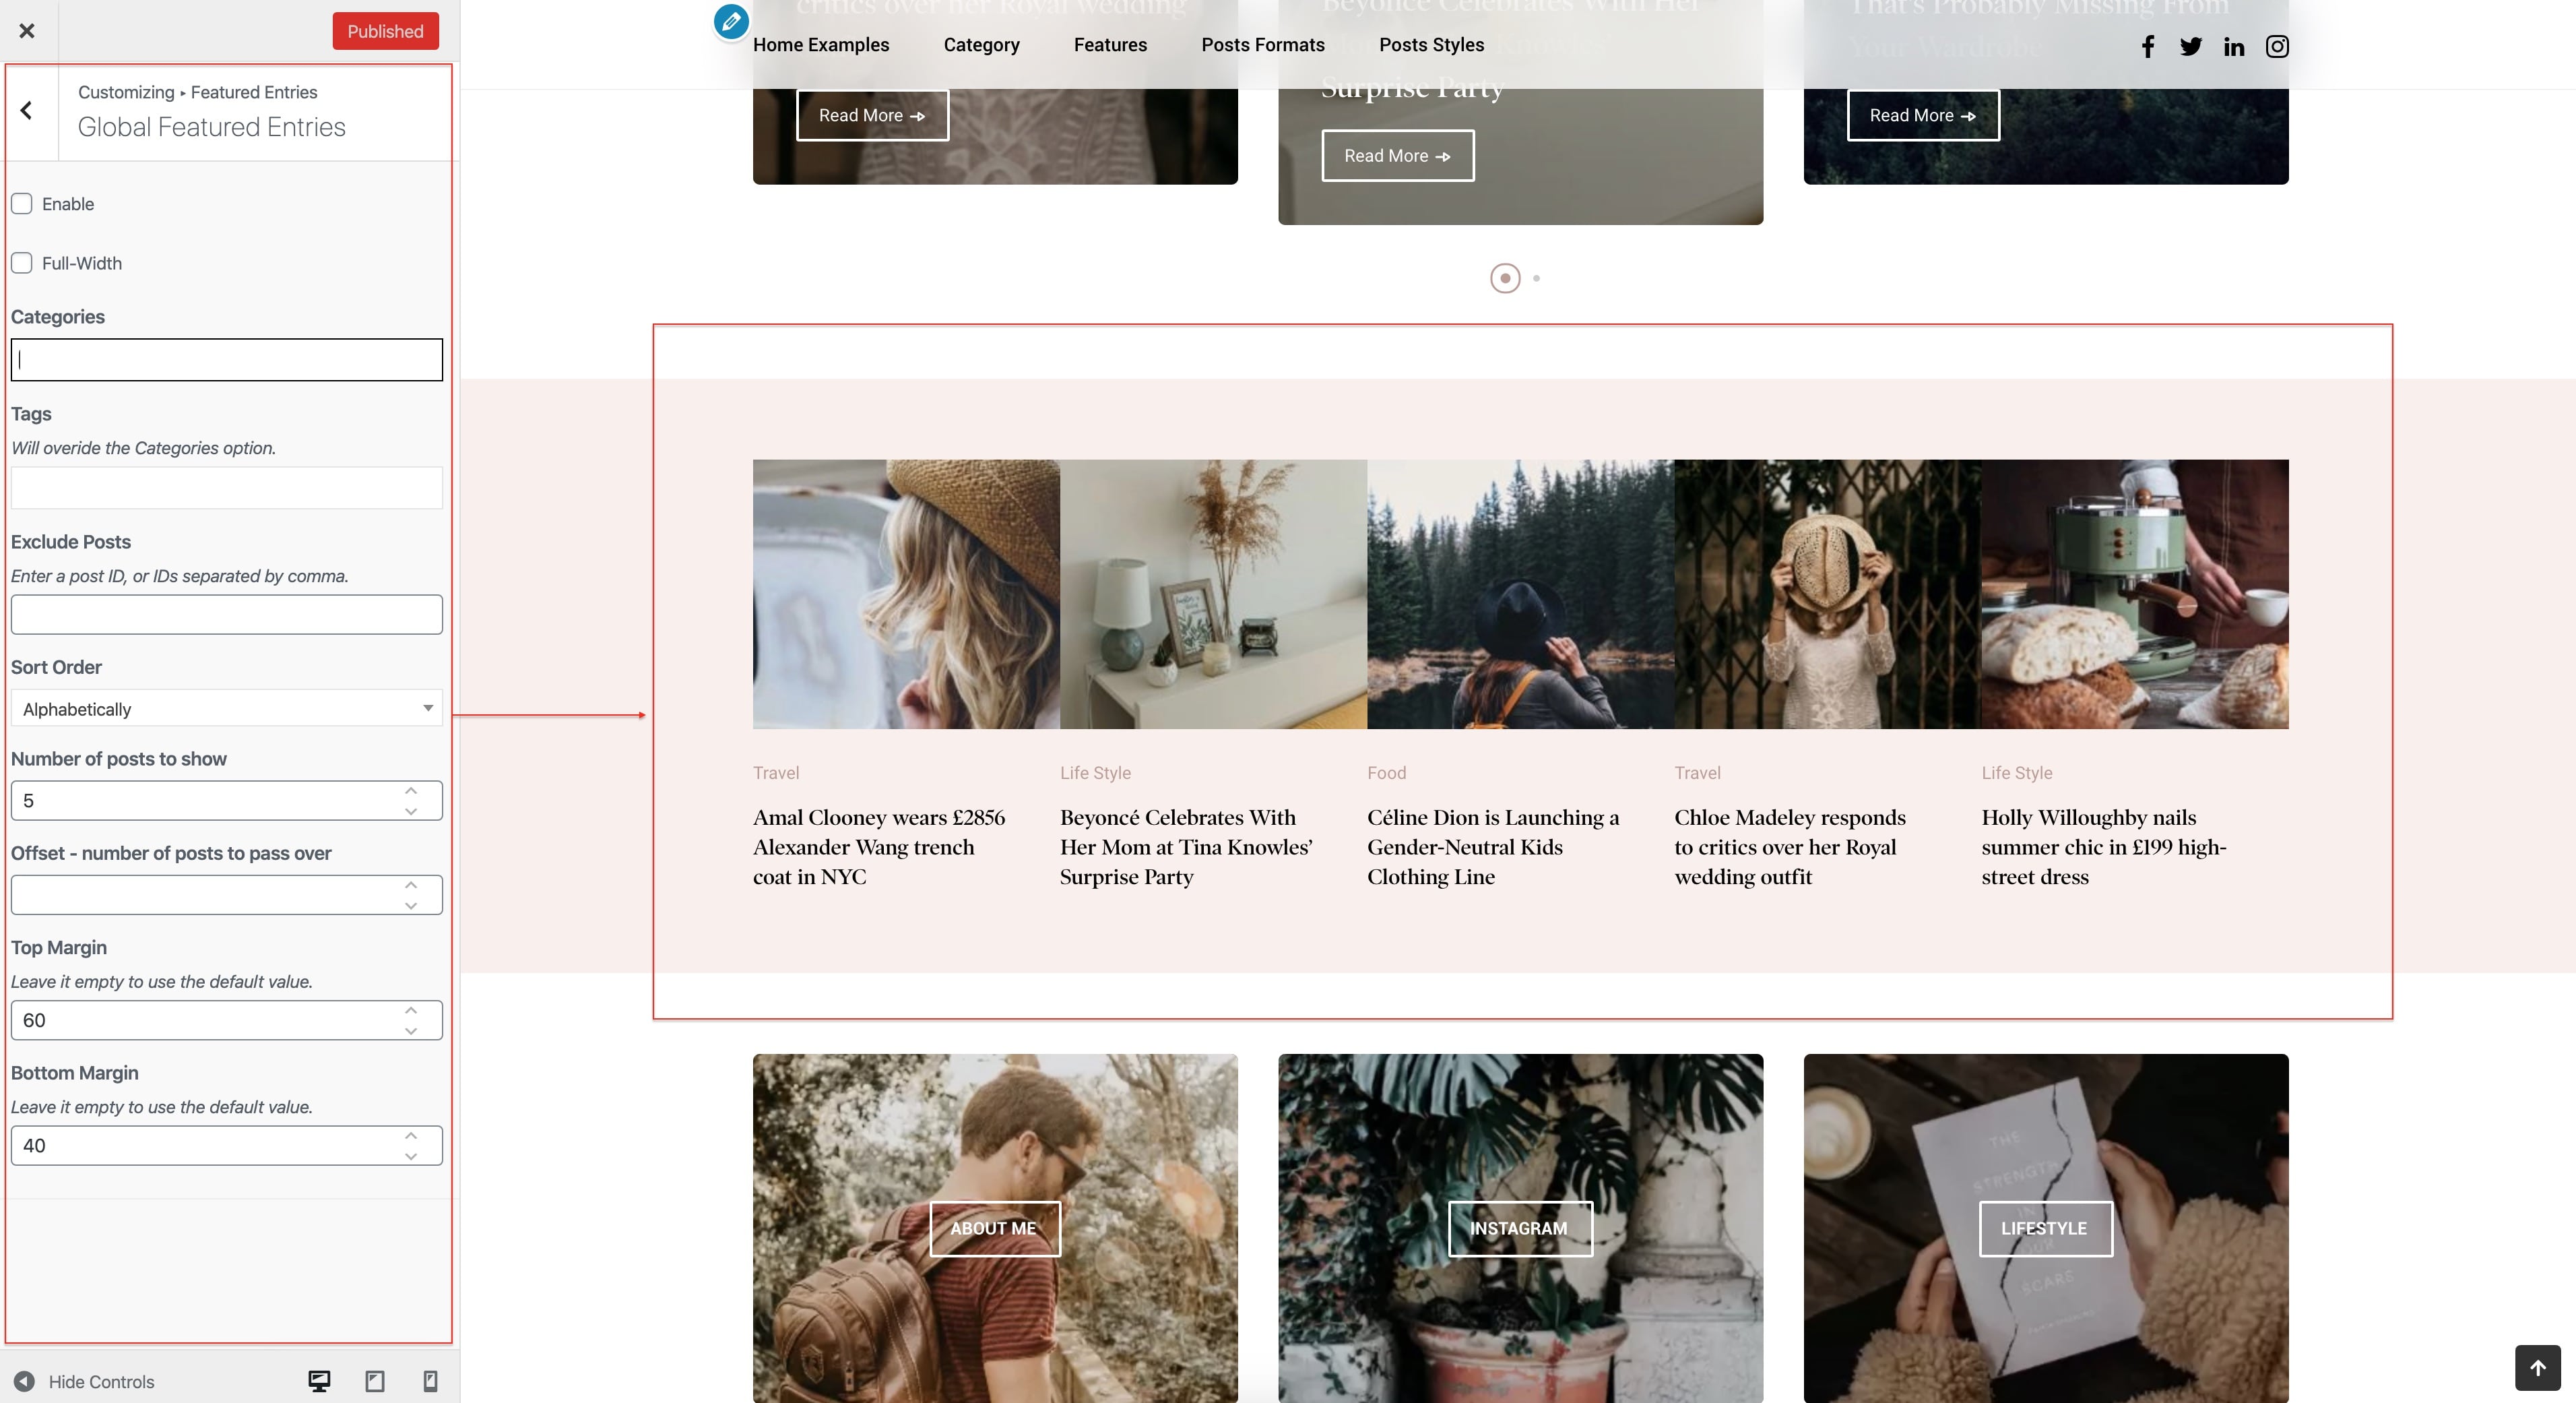
1.4. Global Featured Entries
Navigate to WP Dashboard > Appearance > Customize > Featured Entries > Global Featured Entries
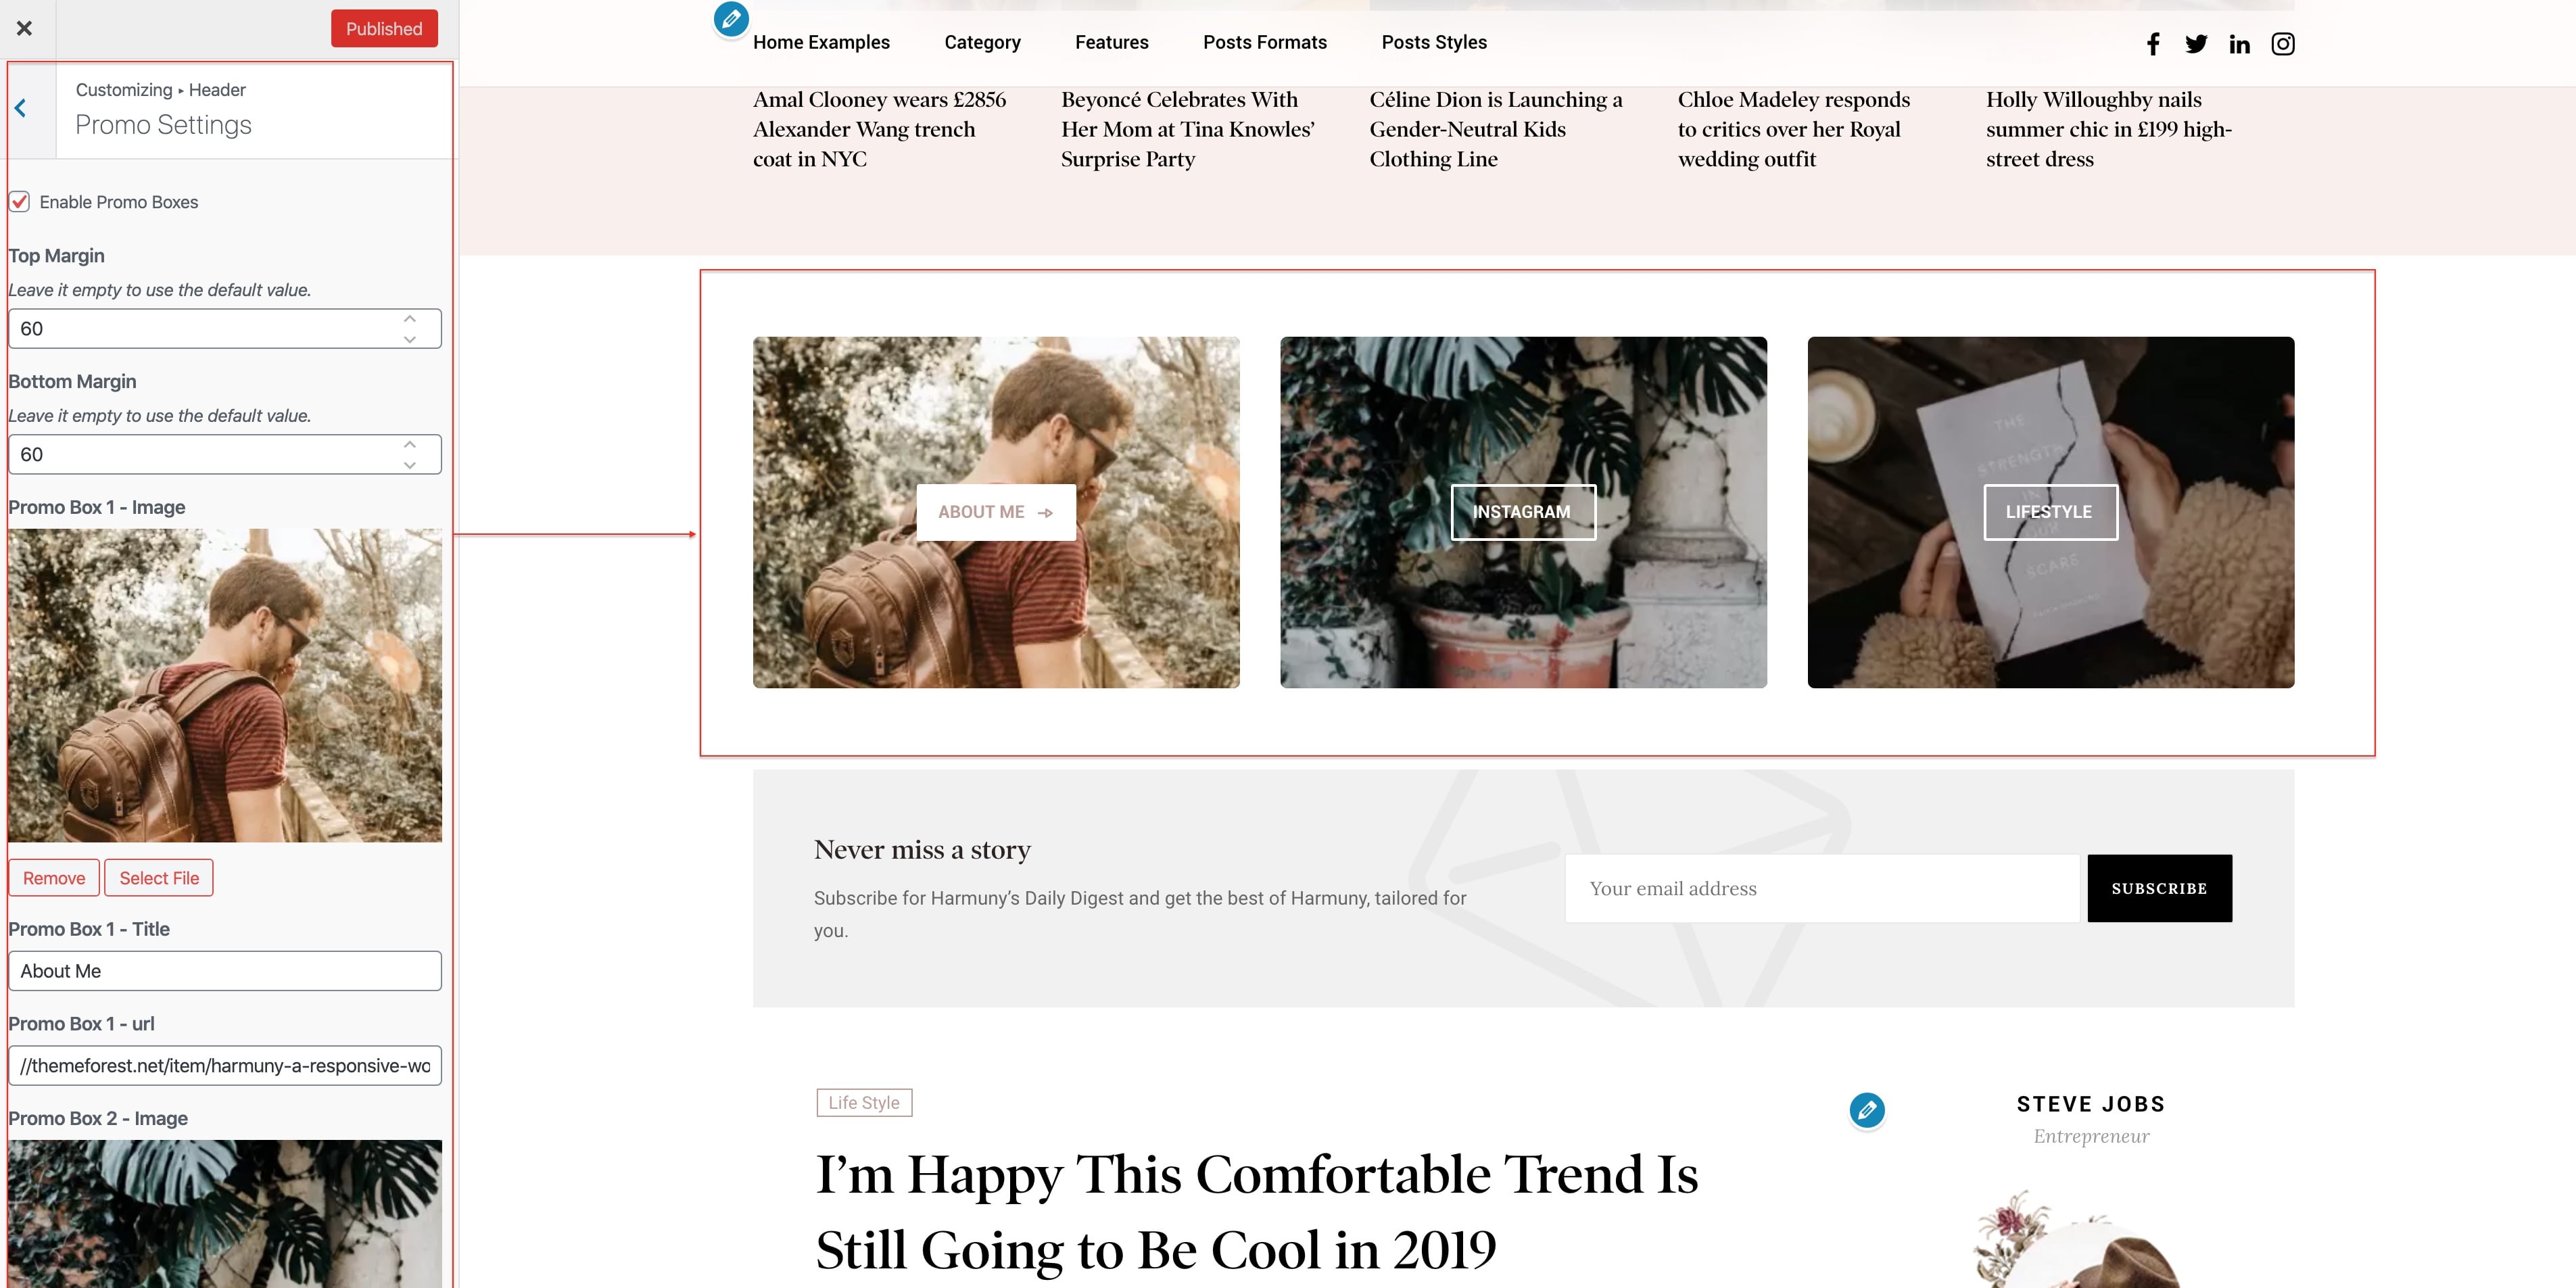
1.5. Promo Boxes Settings
Navigate to WP Dashboard > Appearance > Customize > Header > Promo Settings
2. Header Settings
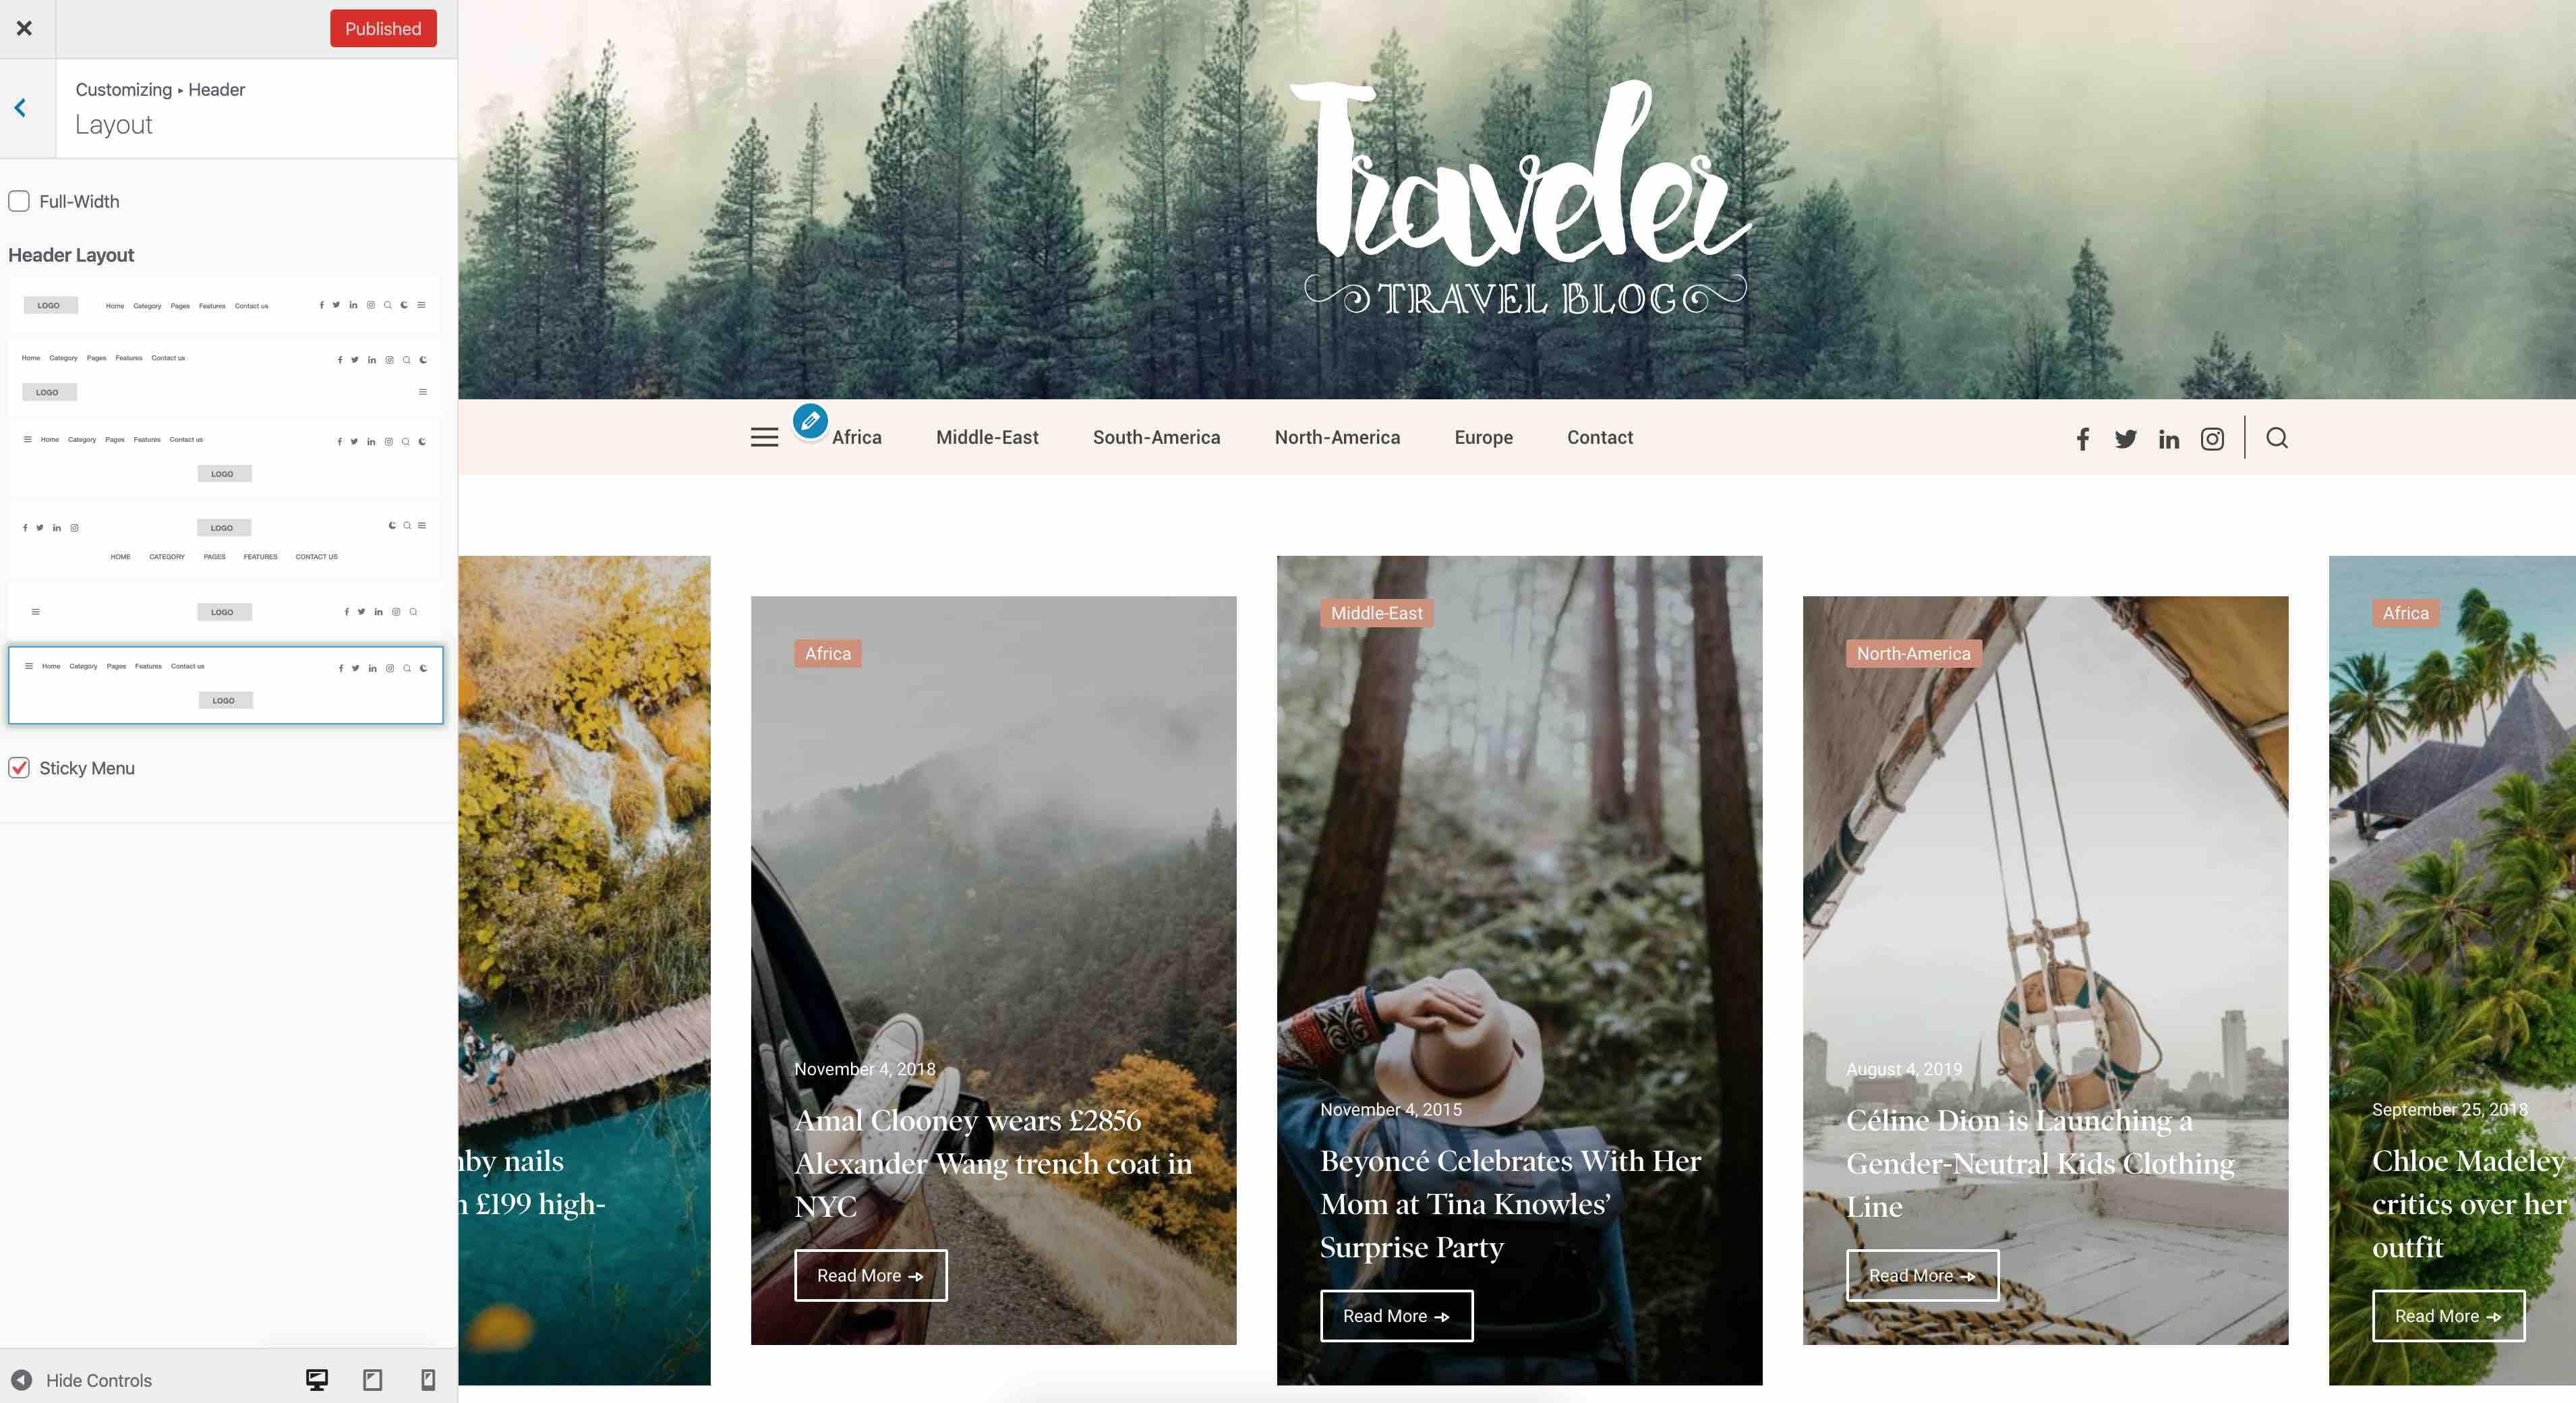
2.3 Main Menu
It is rather important to set your theme menu(s) in the WordPress Dashboard. To do this, locate the Menu options by selecting the Appearance tab from the dashboard sidebar and then Menus.
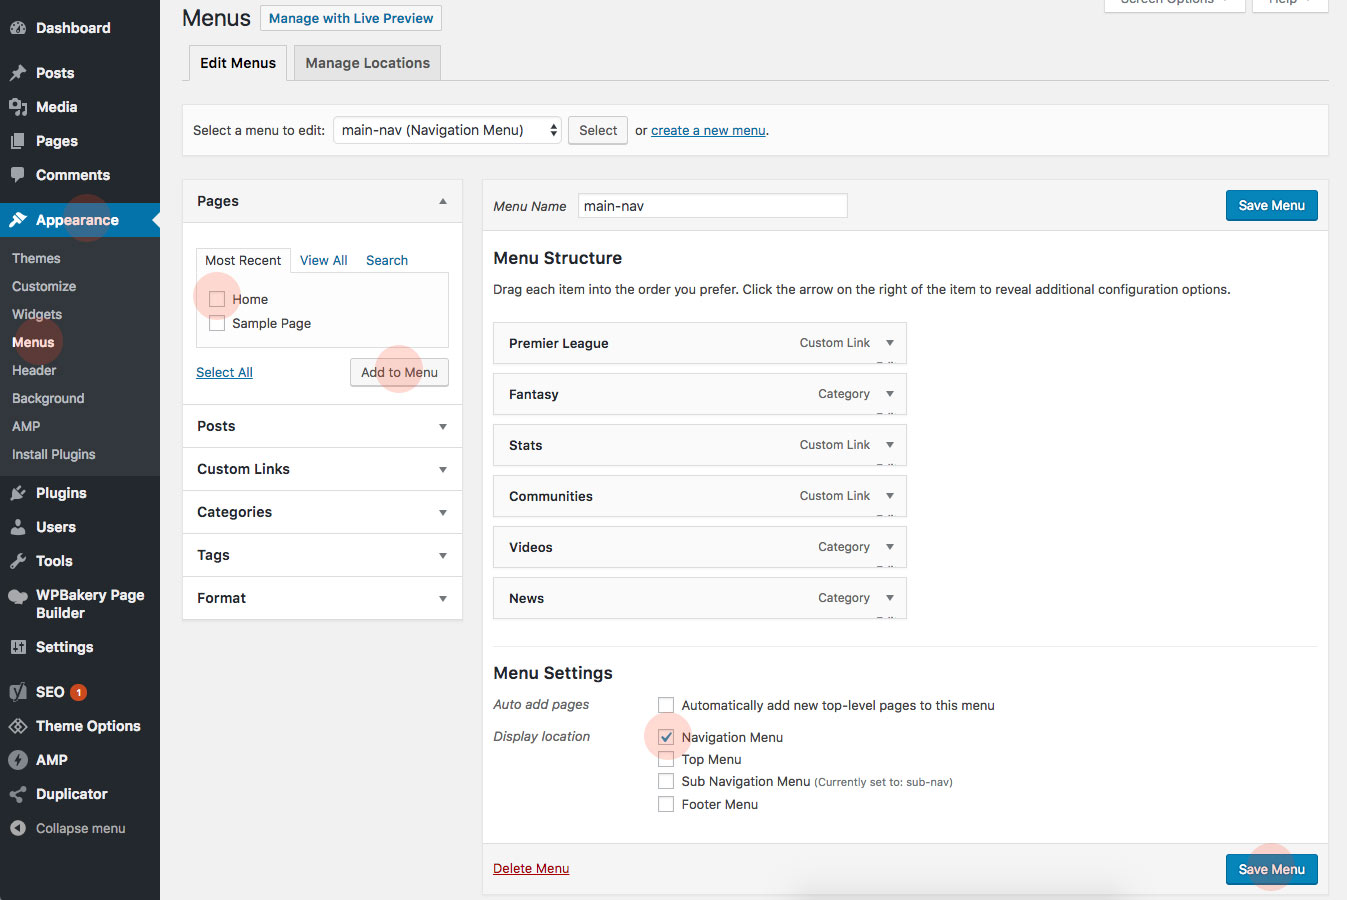
Once you’re viewing the Menus, create a new menu and save it. After you’ve saved the menu, you can add it to a menu via the Menu Settings, below the Menu Structure area. Add your pages and links to the menu you just created in the Menu Structure area.
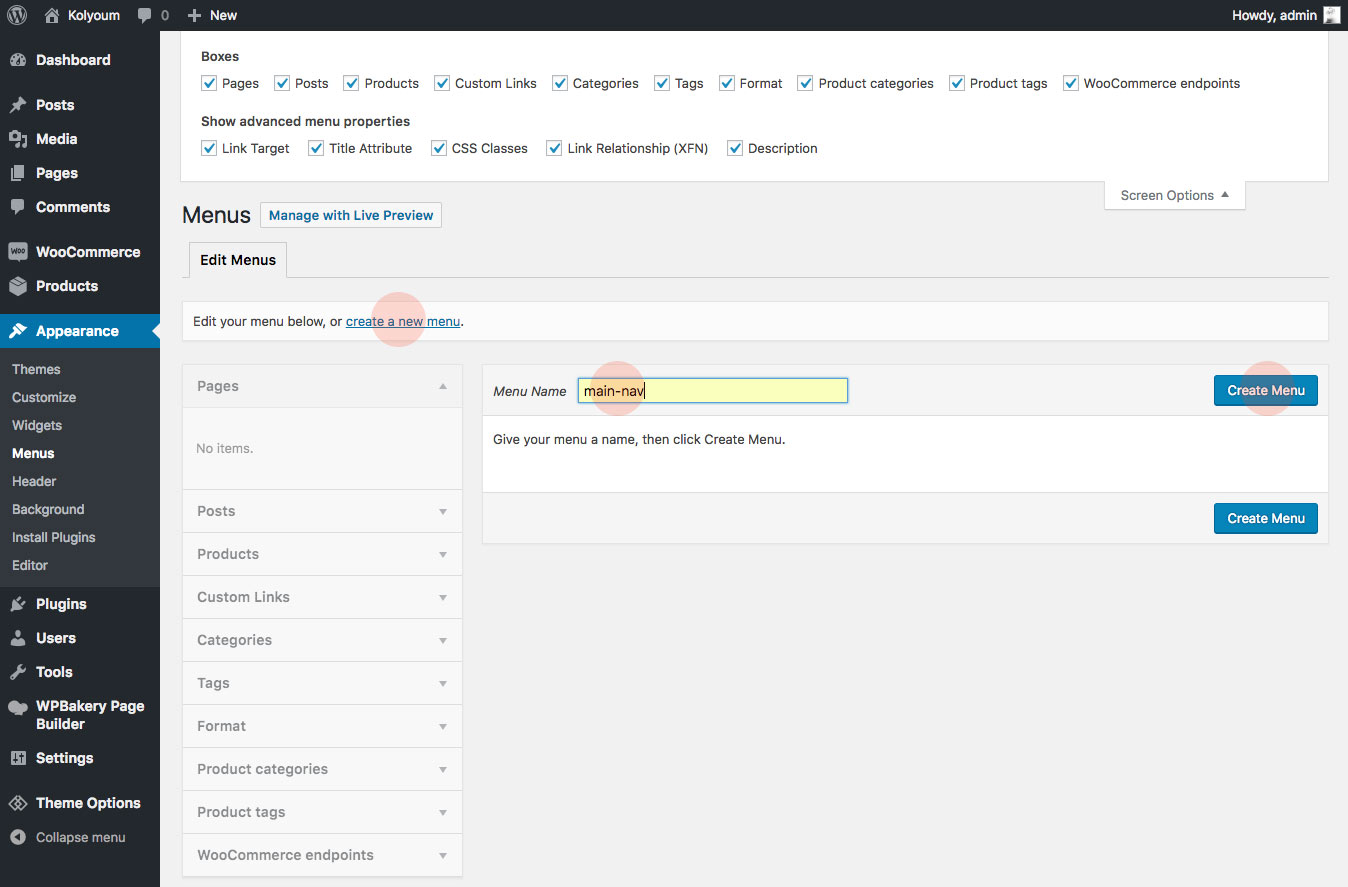
To create a new Menu:
- Navigate to WP Dashboard > Appearance > Menus section of your admin sidebar
- Click the Create A New Menu link to make a new menu. Enter the name then click the Create Menu button
- To add a menu item, select one of your created pages on the left-hand side and click the Add to Menu button. You can also add all kinds of different posts from the left side.
- To add a custom menu item, enter a custom name and link into the Custom Links box.
- Manage your menus by using the drag and drop functionality. To create a drop-down menu, simply drag a menu item below and slightly to the right of another menu item, and it will lock into place and create a dropdown section.
- After setting up your menu, scroll down to the bottom of the page to assign the menu to one of the 4 locations in the Theme Locations box.
- Once it's all done, make sure you click the Save button.
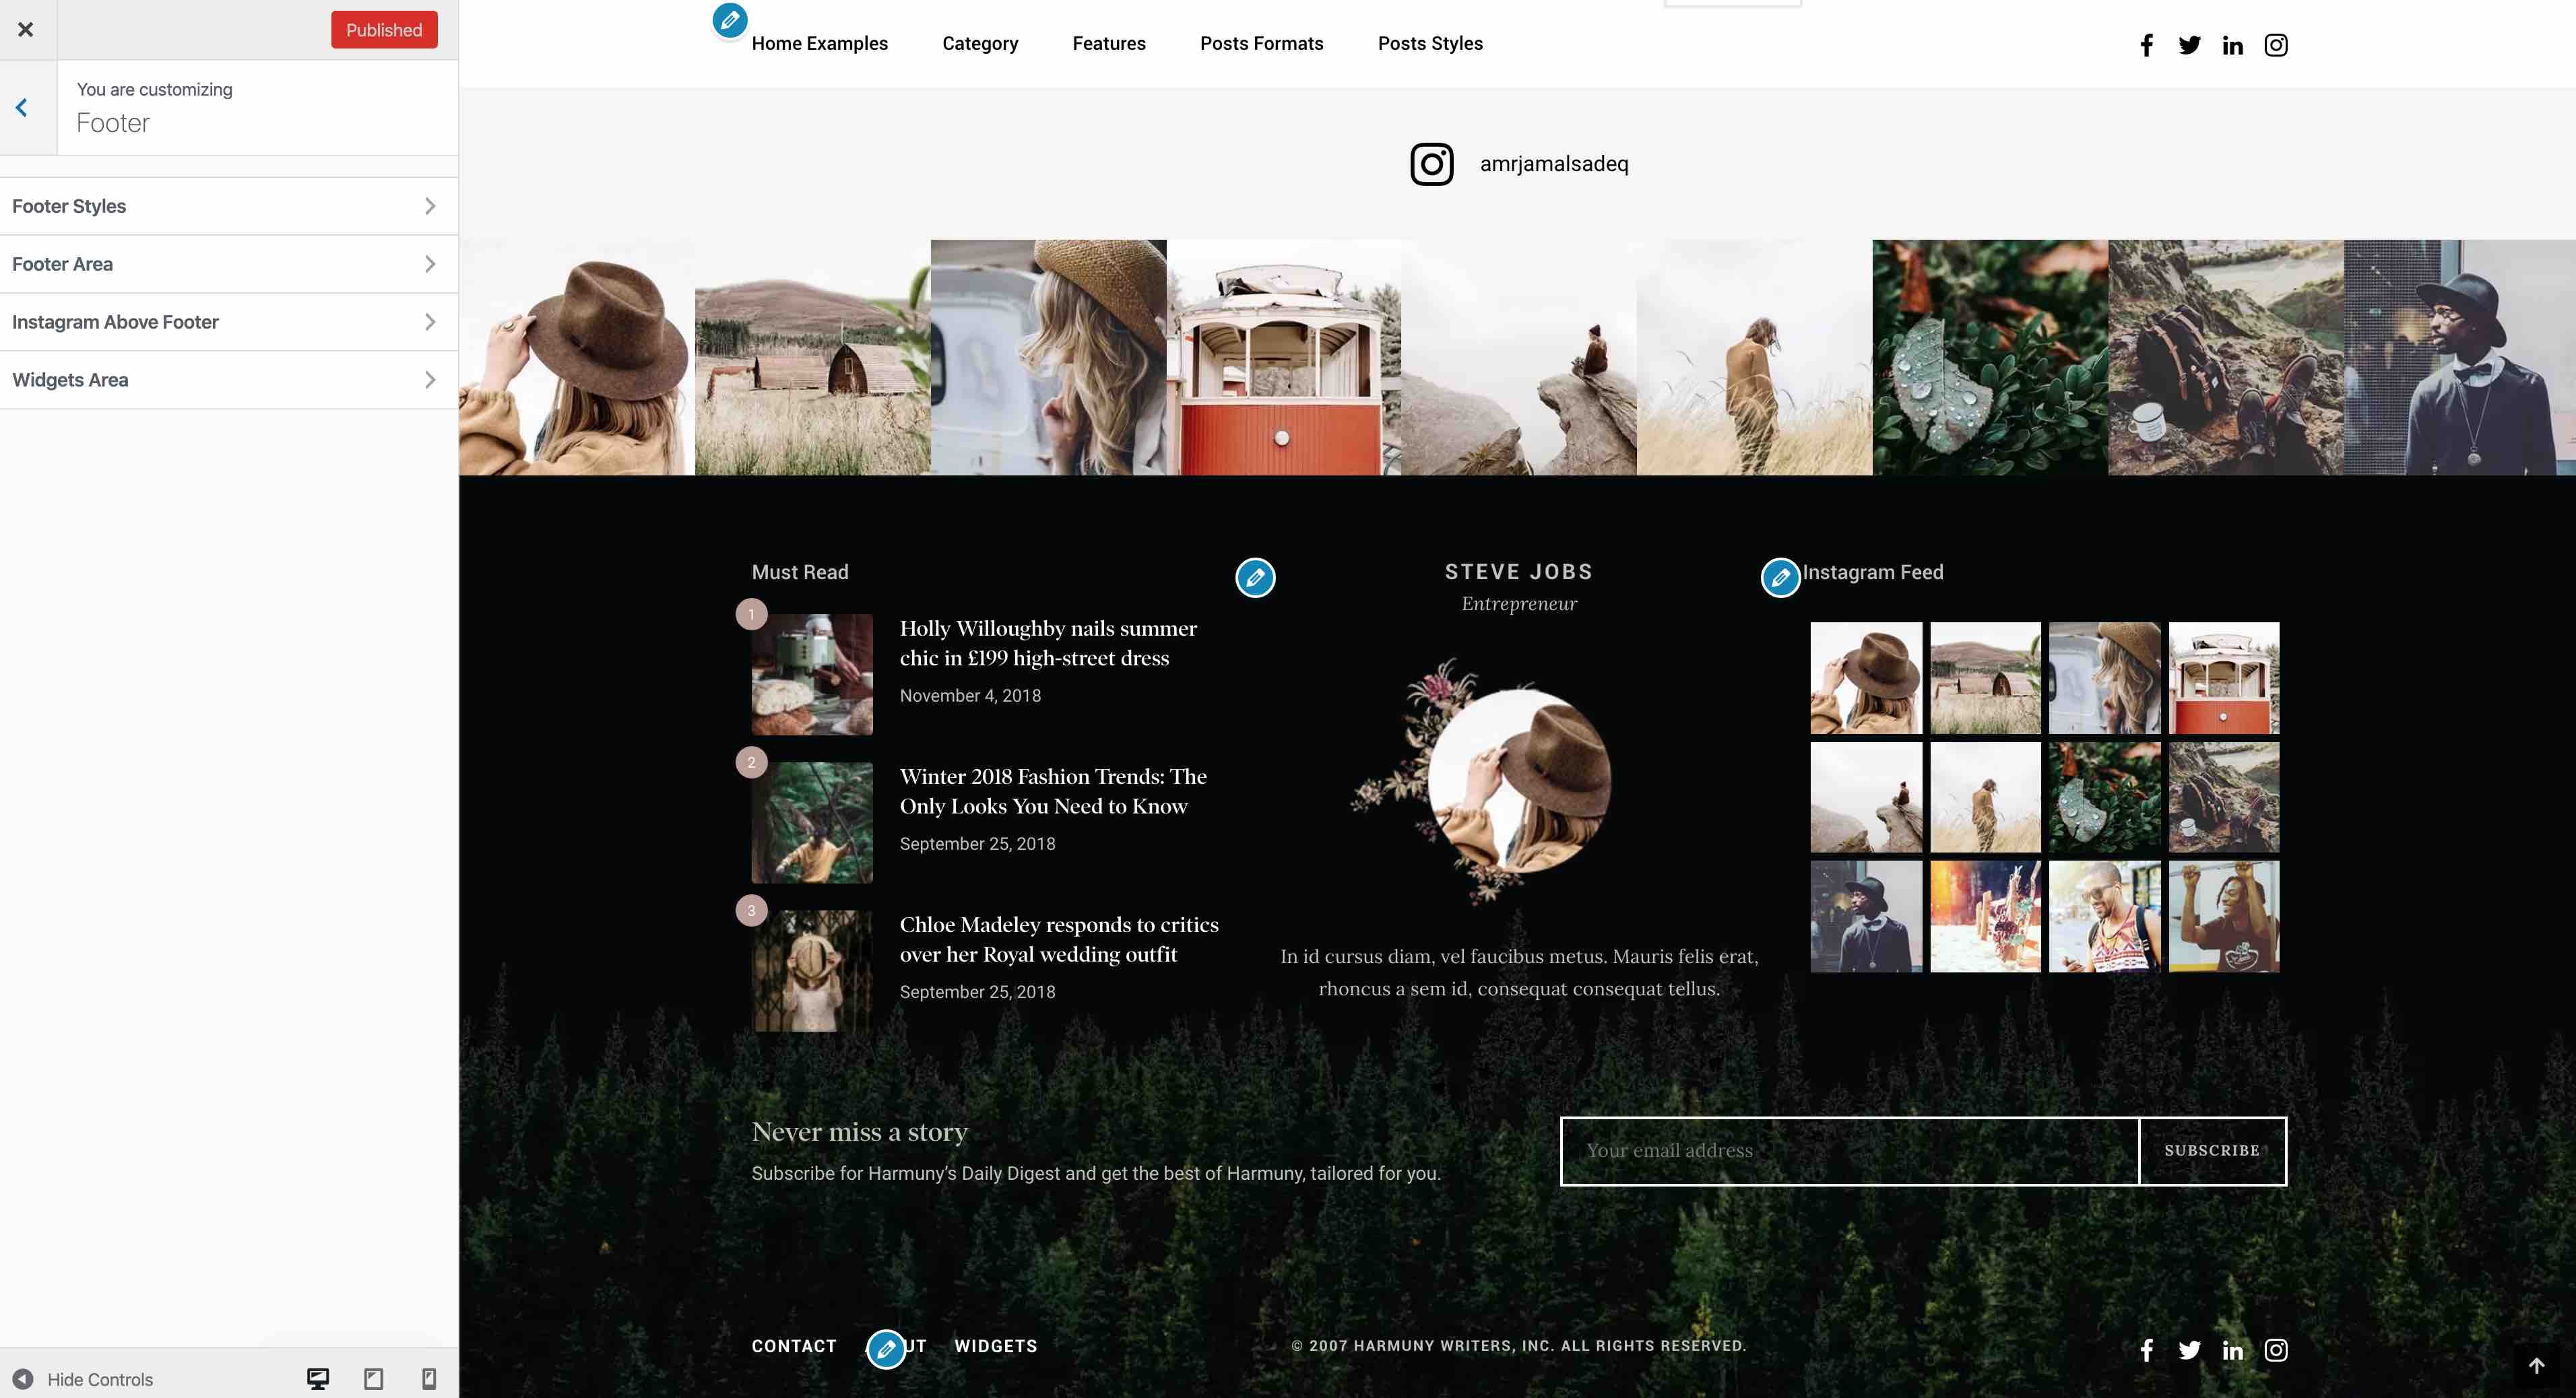
3. Footer Settings
Navigate to WP Dashboard > Appearance > Customize > Footer
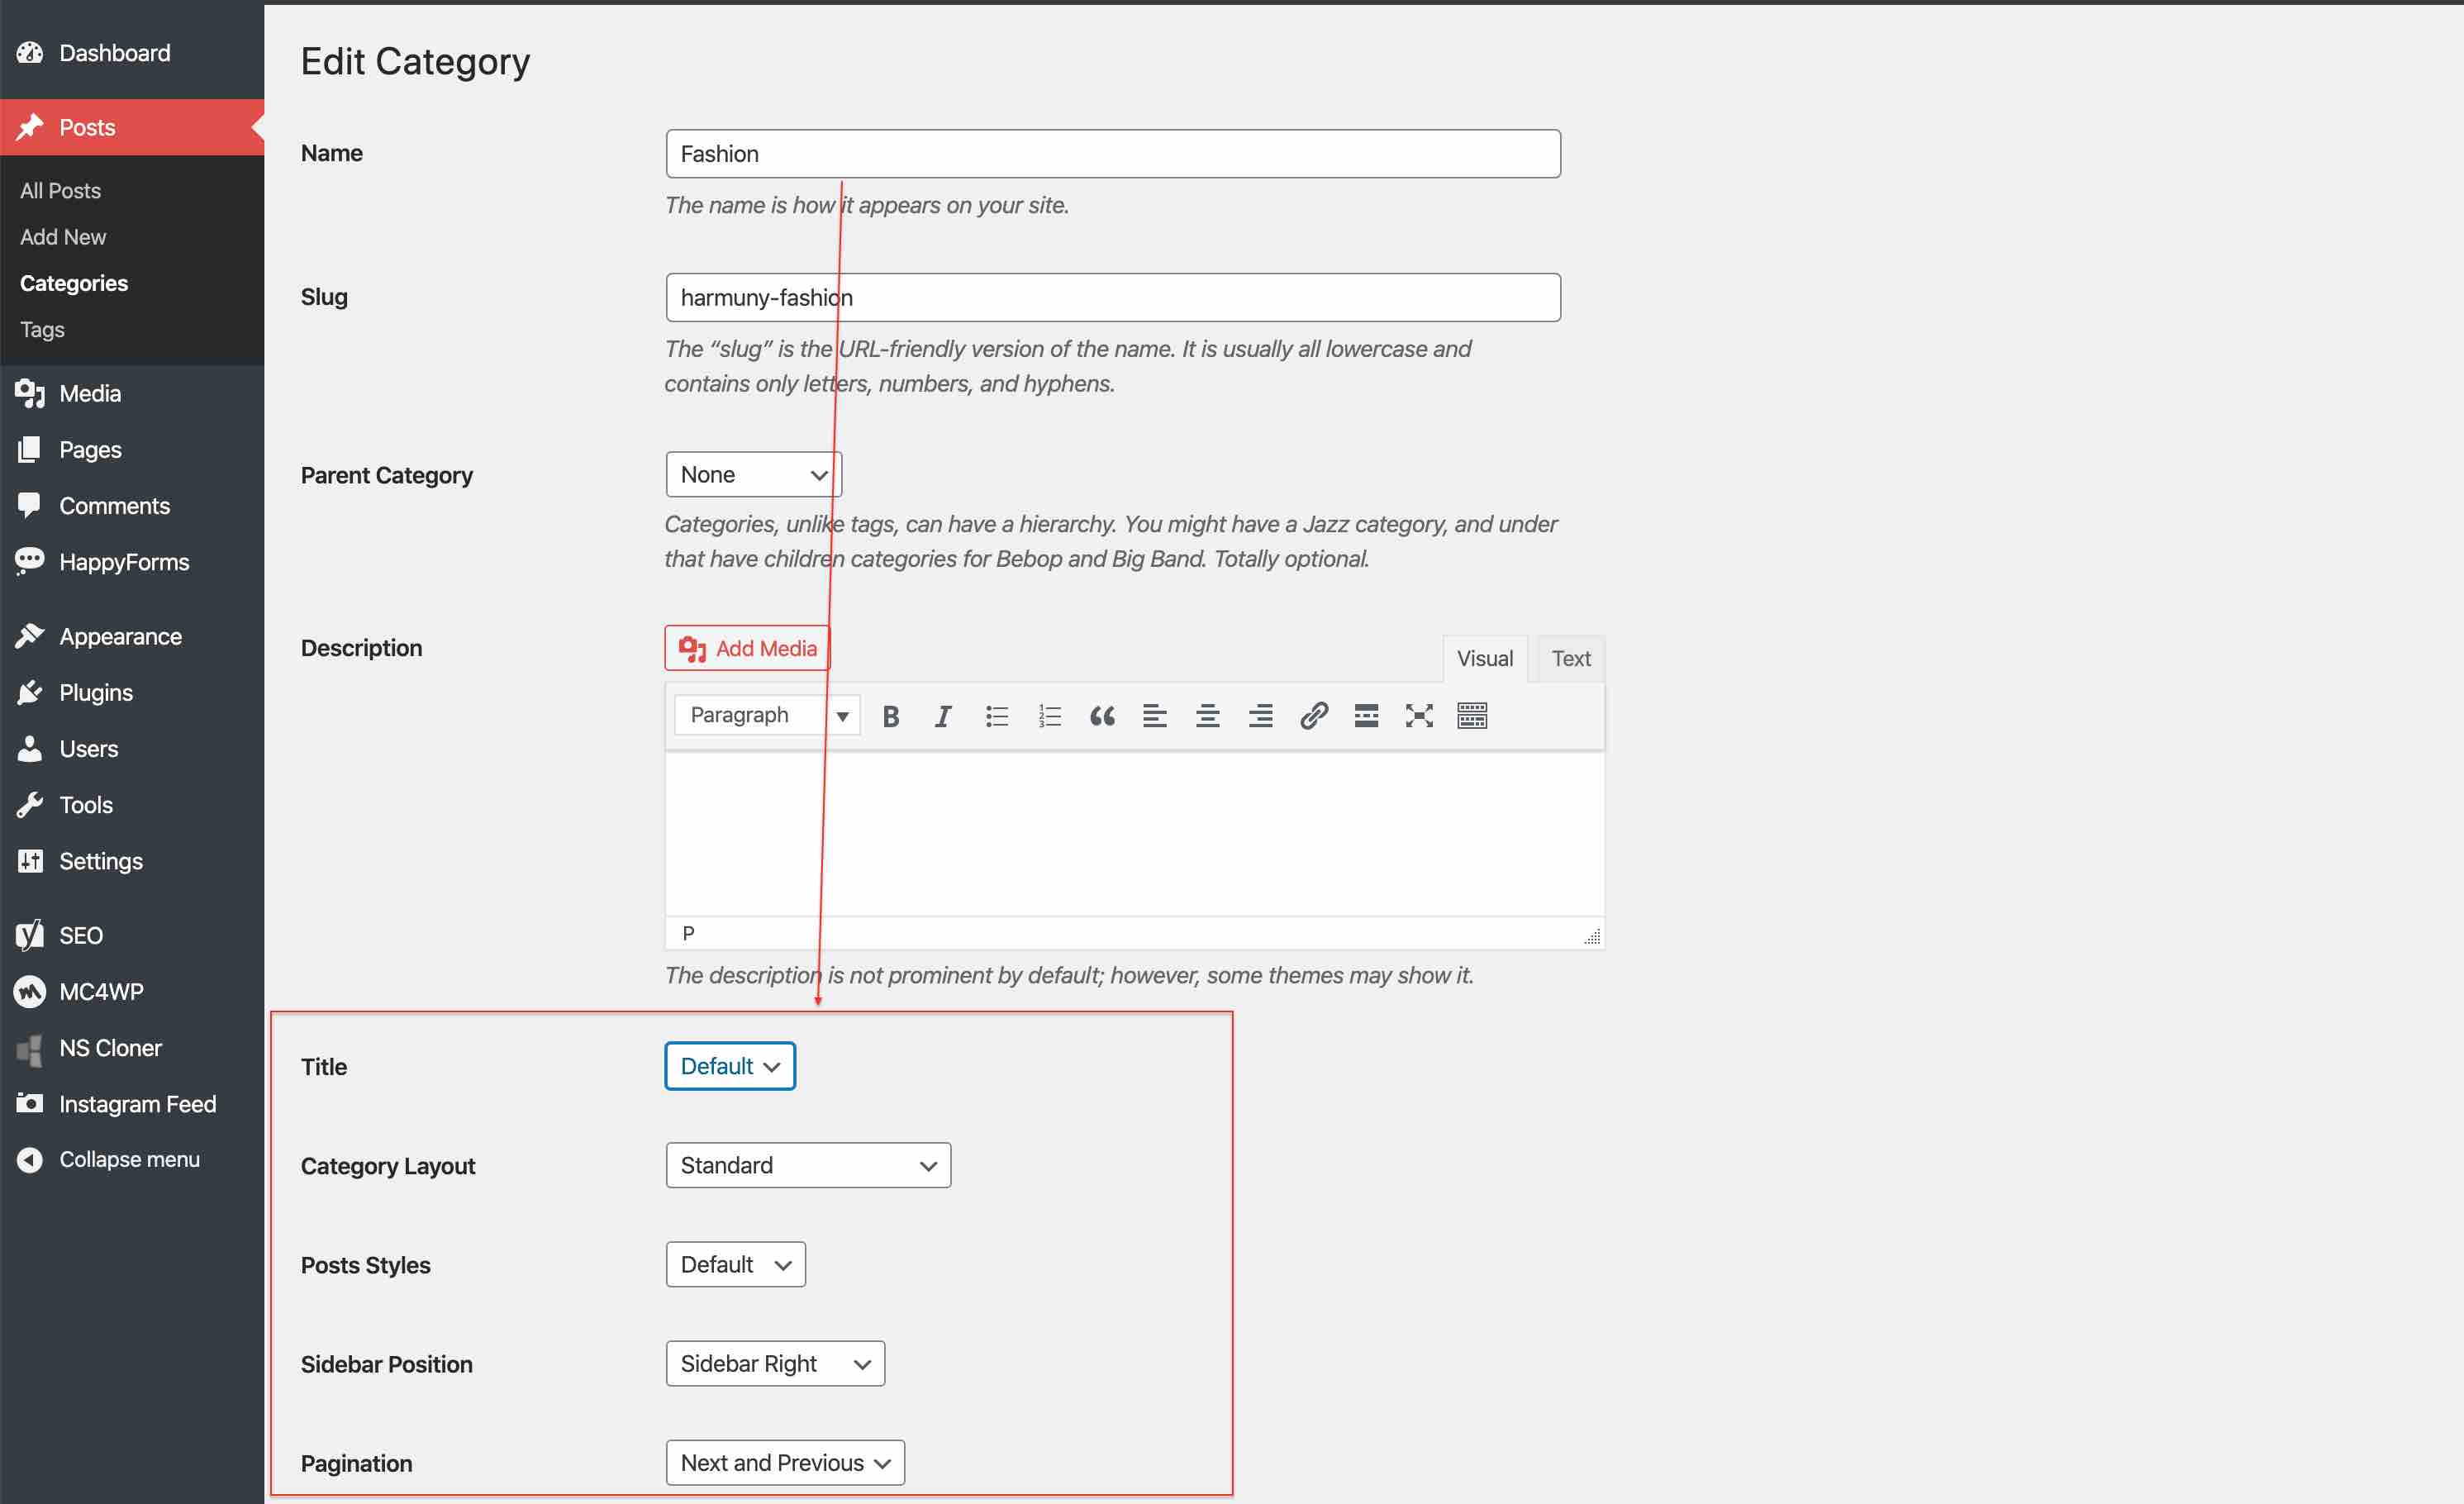
4. Setting up the category page
Navigate to WP Dashboard > Posts > Categories 14 Layouts, 8 Posts Layouts, Sidebar Positions and Pagination Type
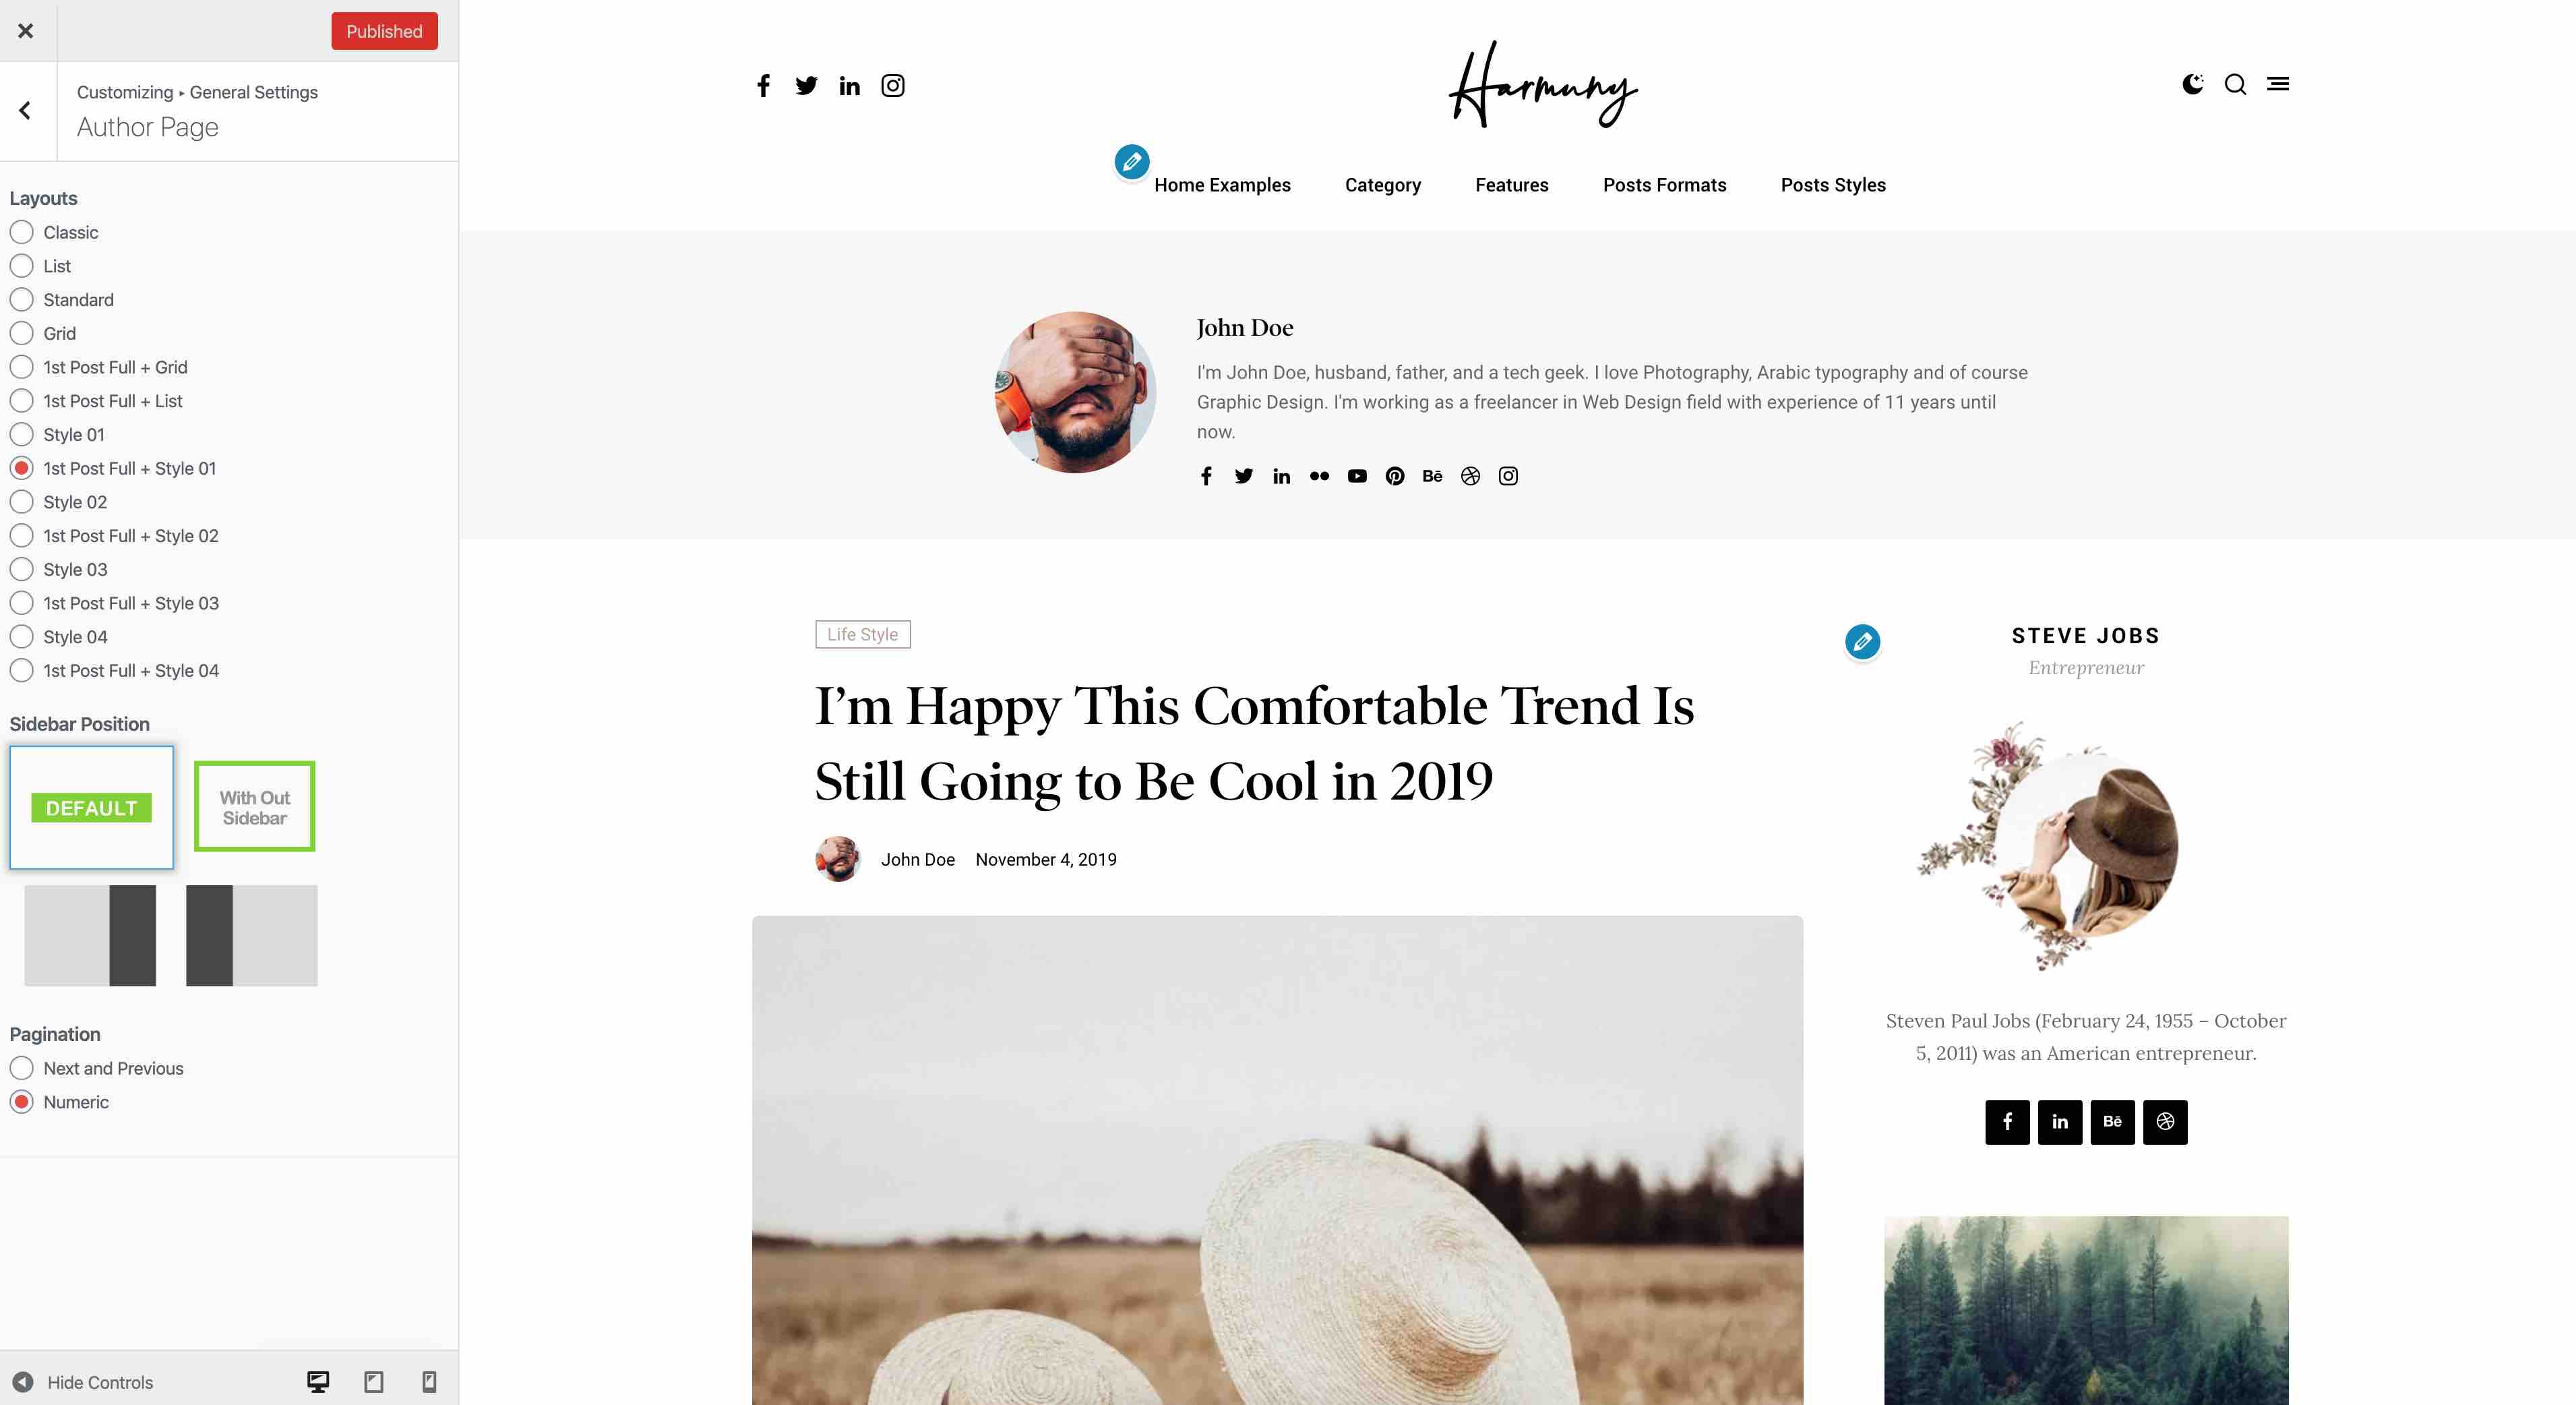
5. Setting up the Author Page
Navigate to WP Dashboard > Appearance > Customize > General Settings > Author Page 14 Layouts, Sidebar Positions and Pagination Type
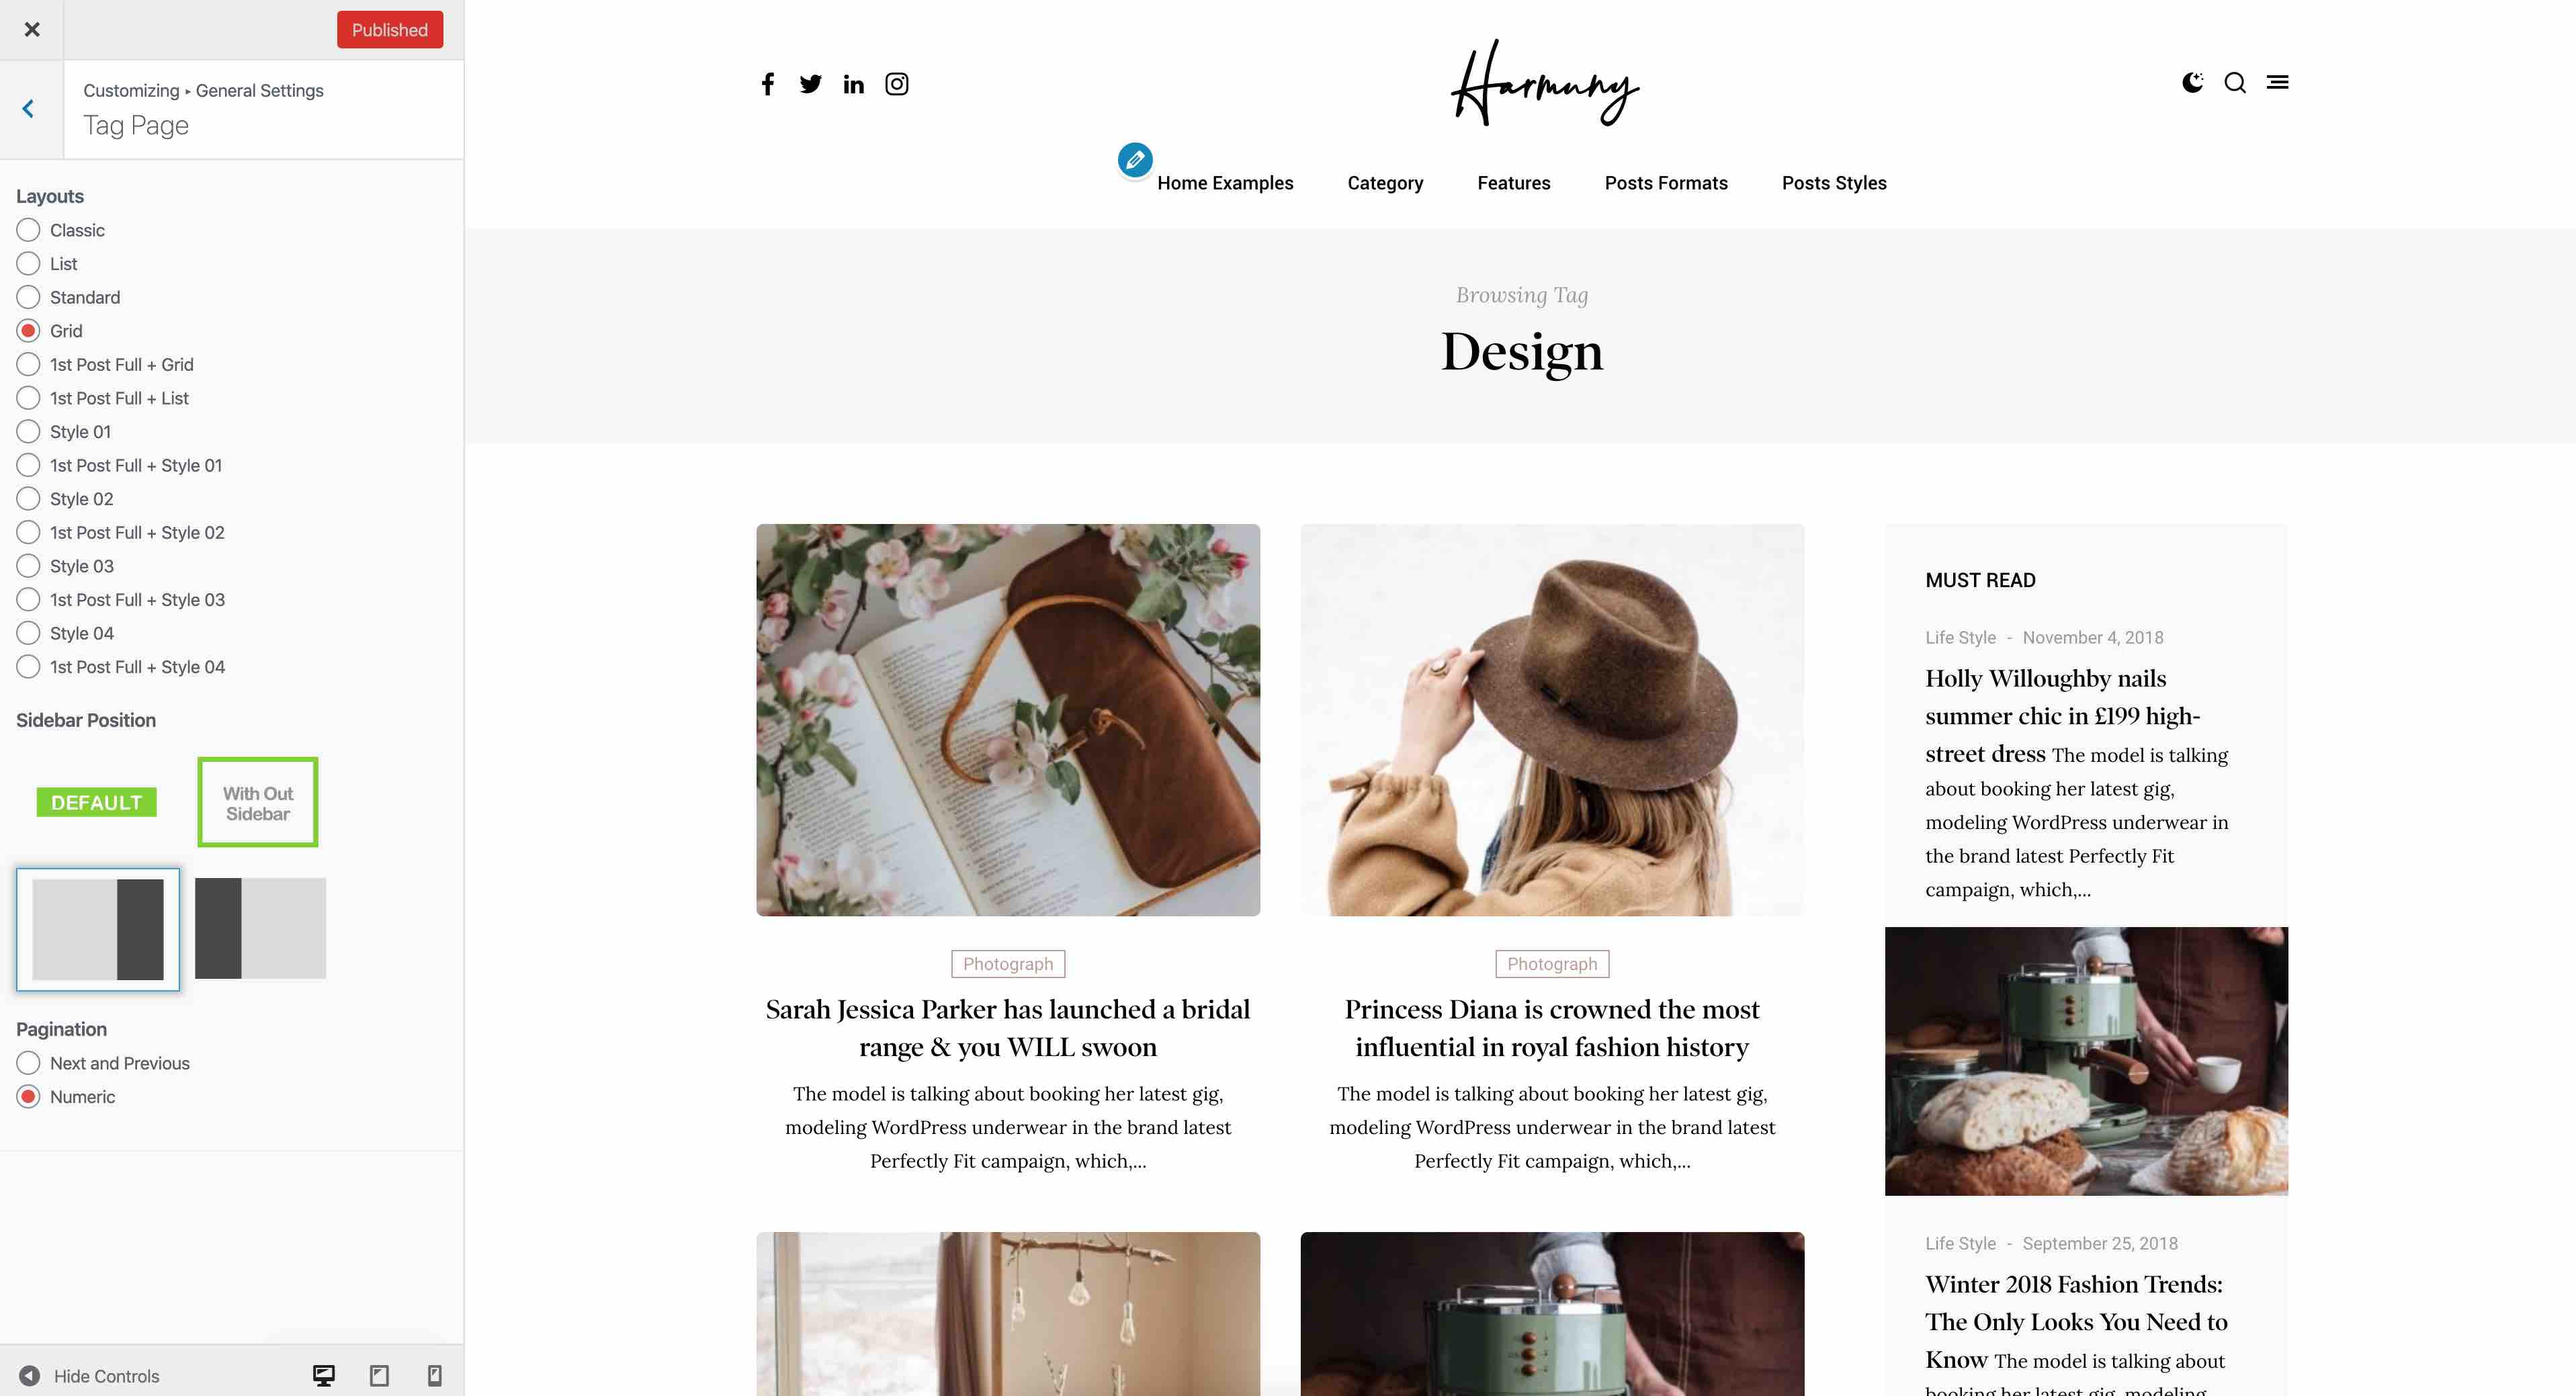
6. Setting up the Tag Page
Navigate to WP Dashboard > Appearance > Customize > General Settings > Tag Page 14 Layouts, Sidebar Positions and Pagination Type
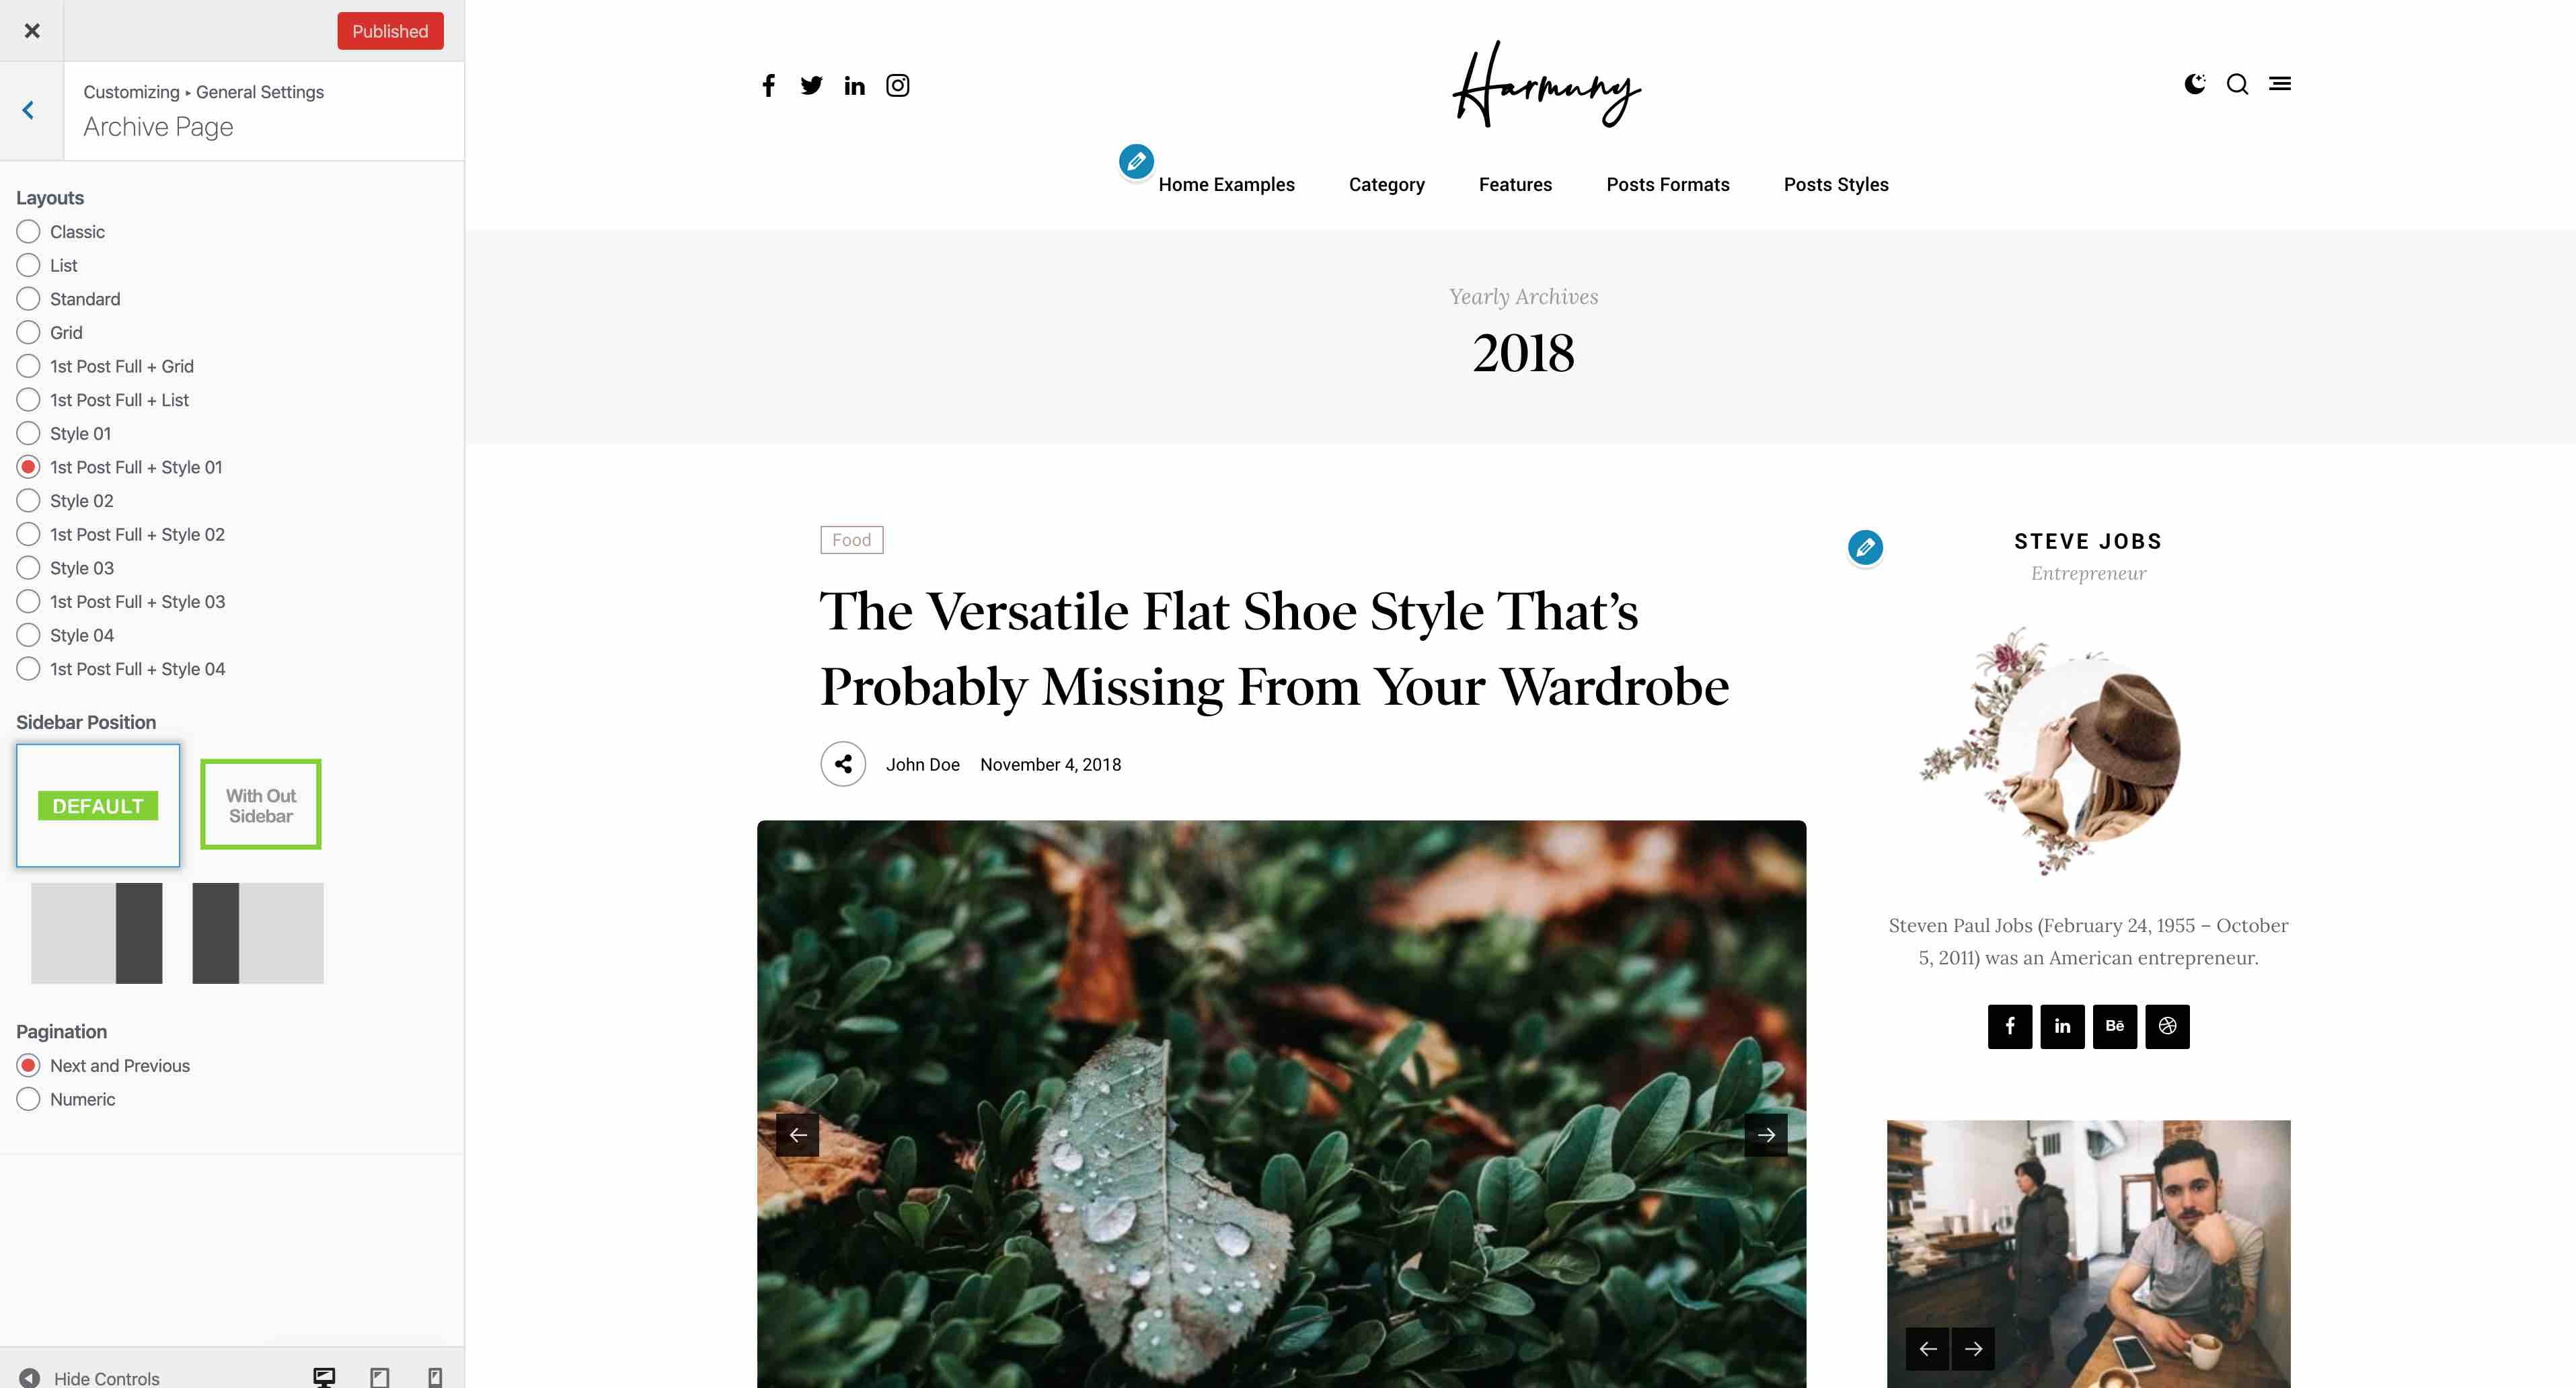
7. Setting up the Archive Page
Navigate to WP Dashboard > Appearance > Customize > General Settings > Archive Page 14 Layouts, Sidebar Positions and Pagination Type
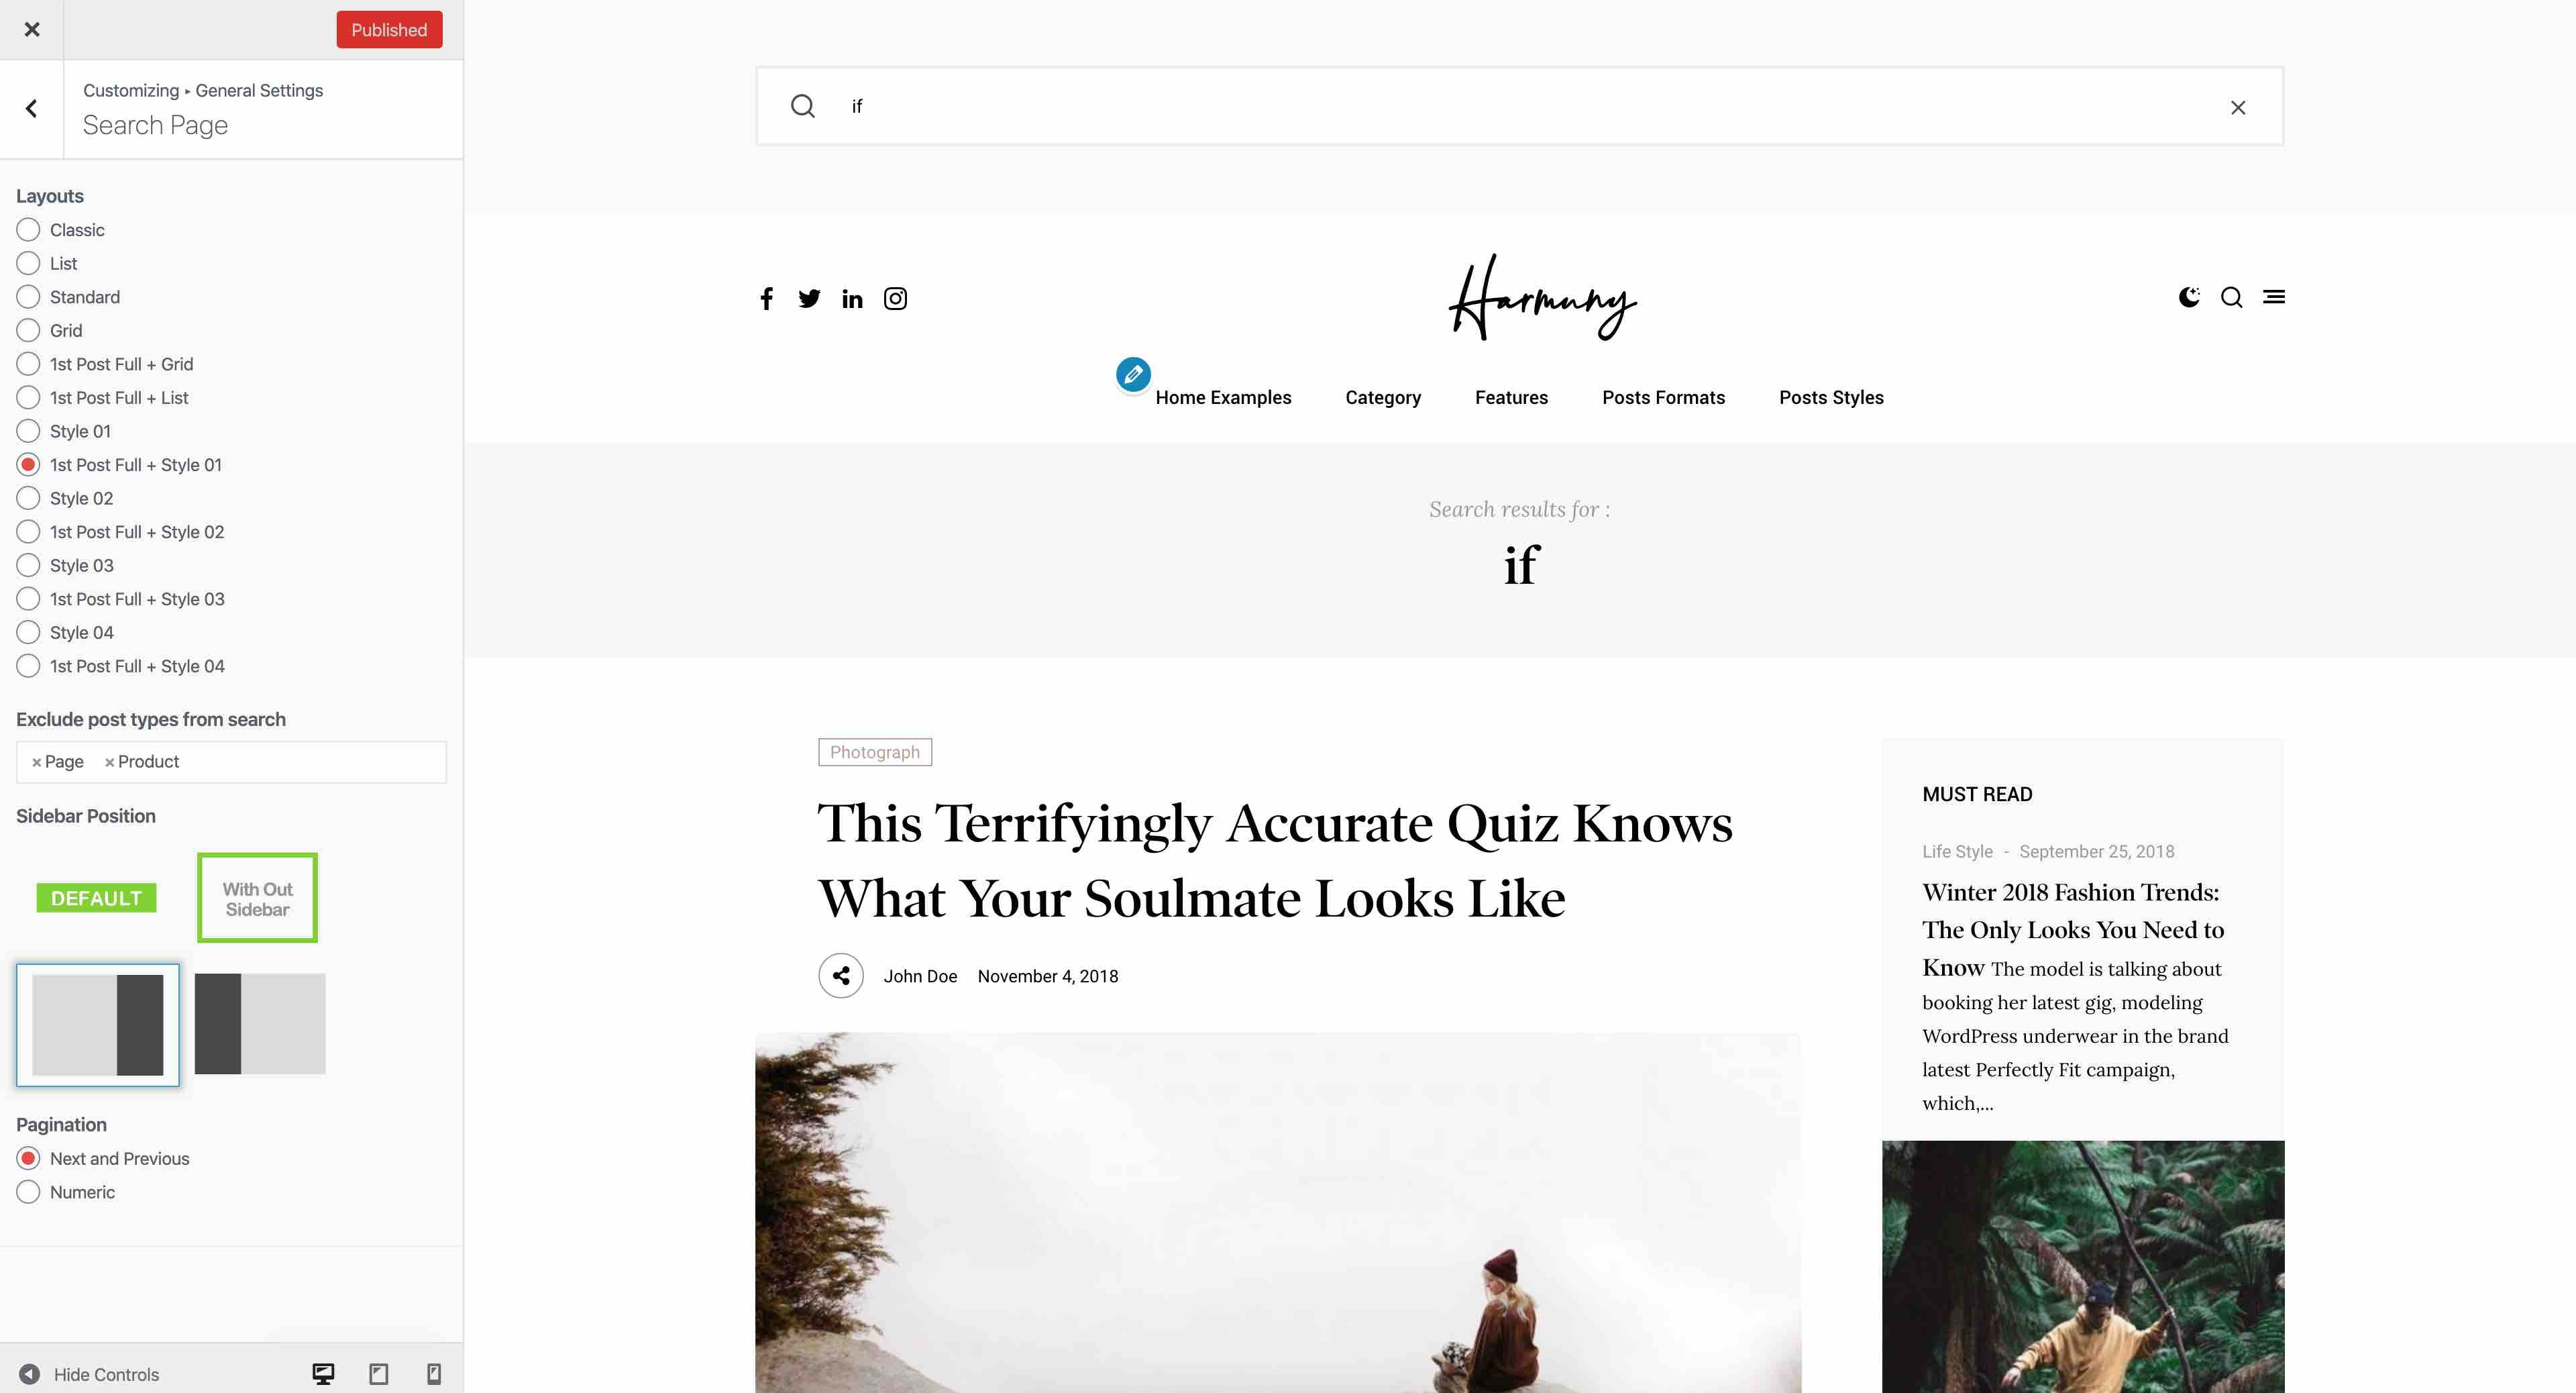
8. Setting up the Search Page
Navigate to WP Dashboard > Appearance > Customize > General Settings > Search Page 14 Layouts, Sidebar Positions and Pagination Type
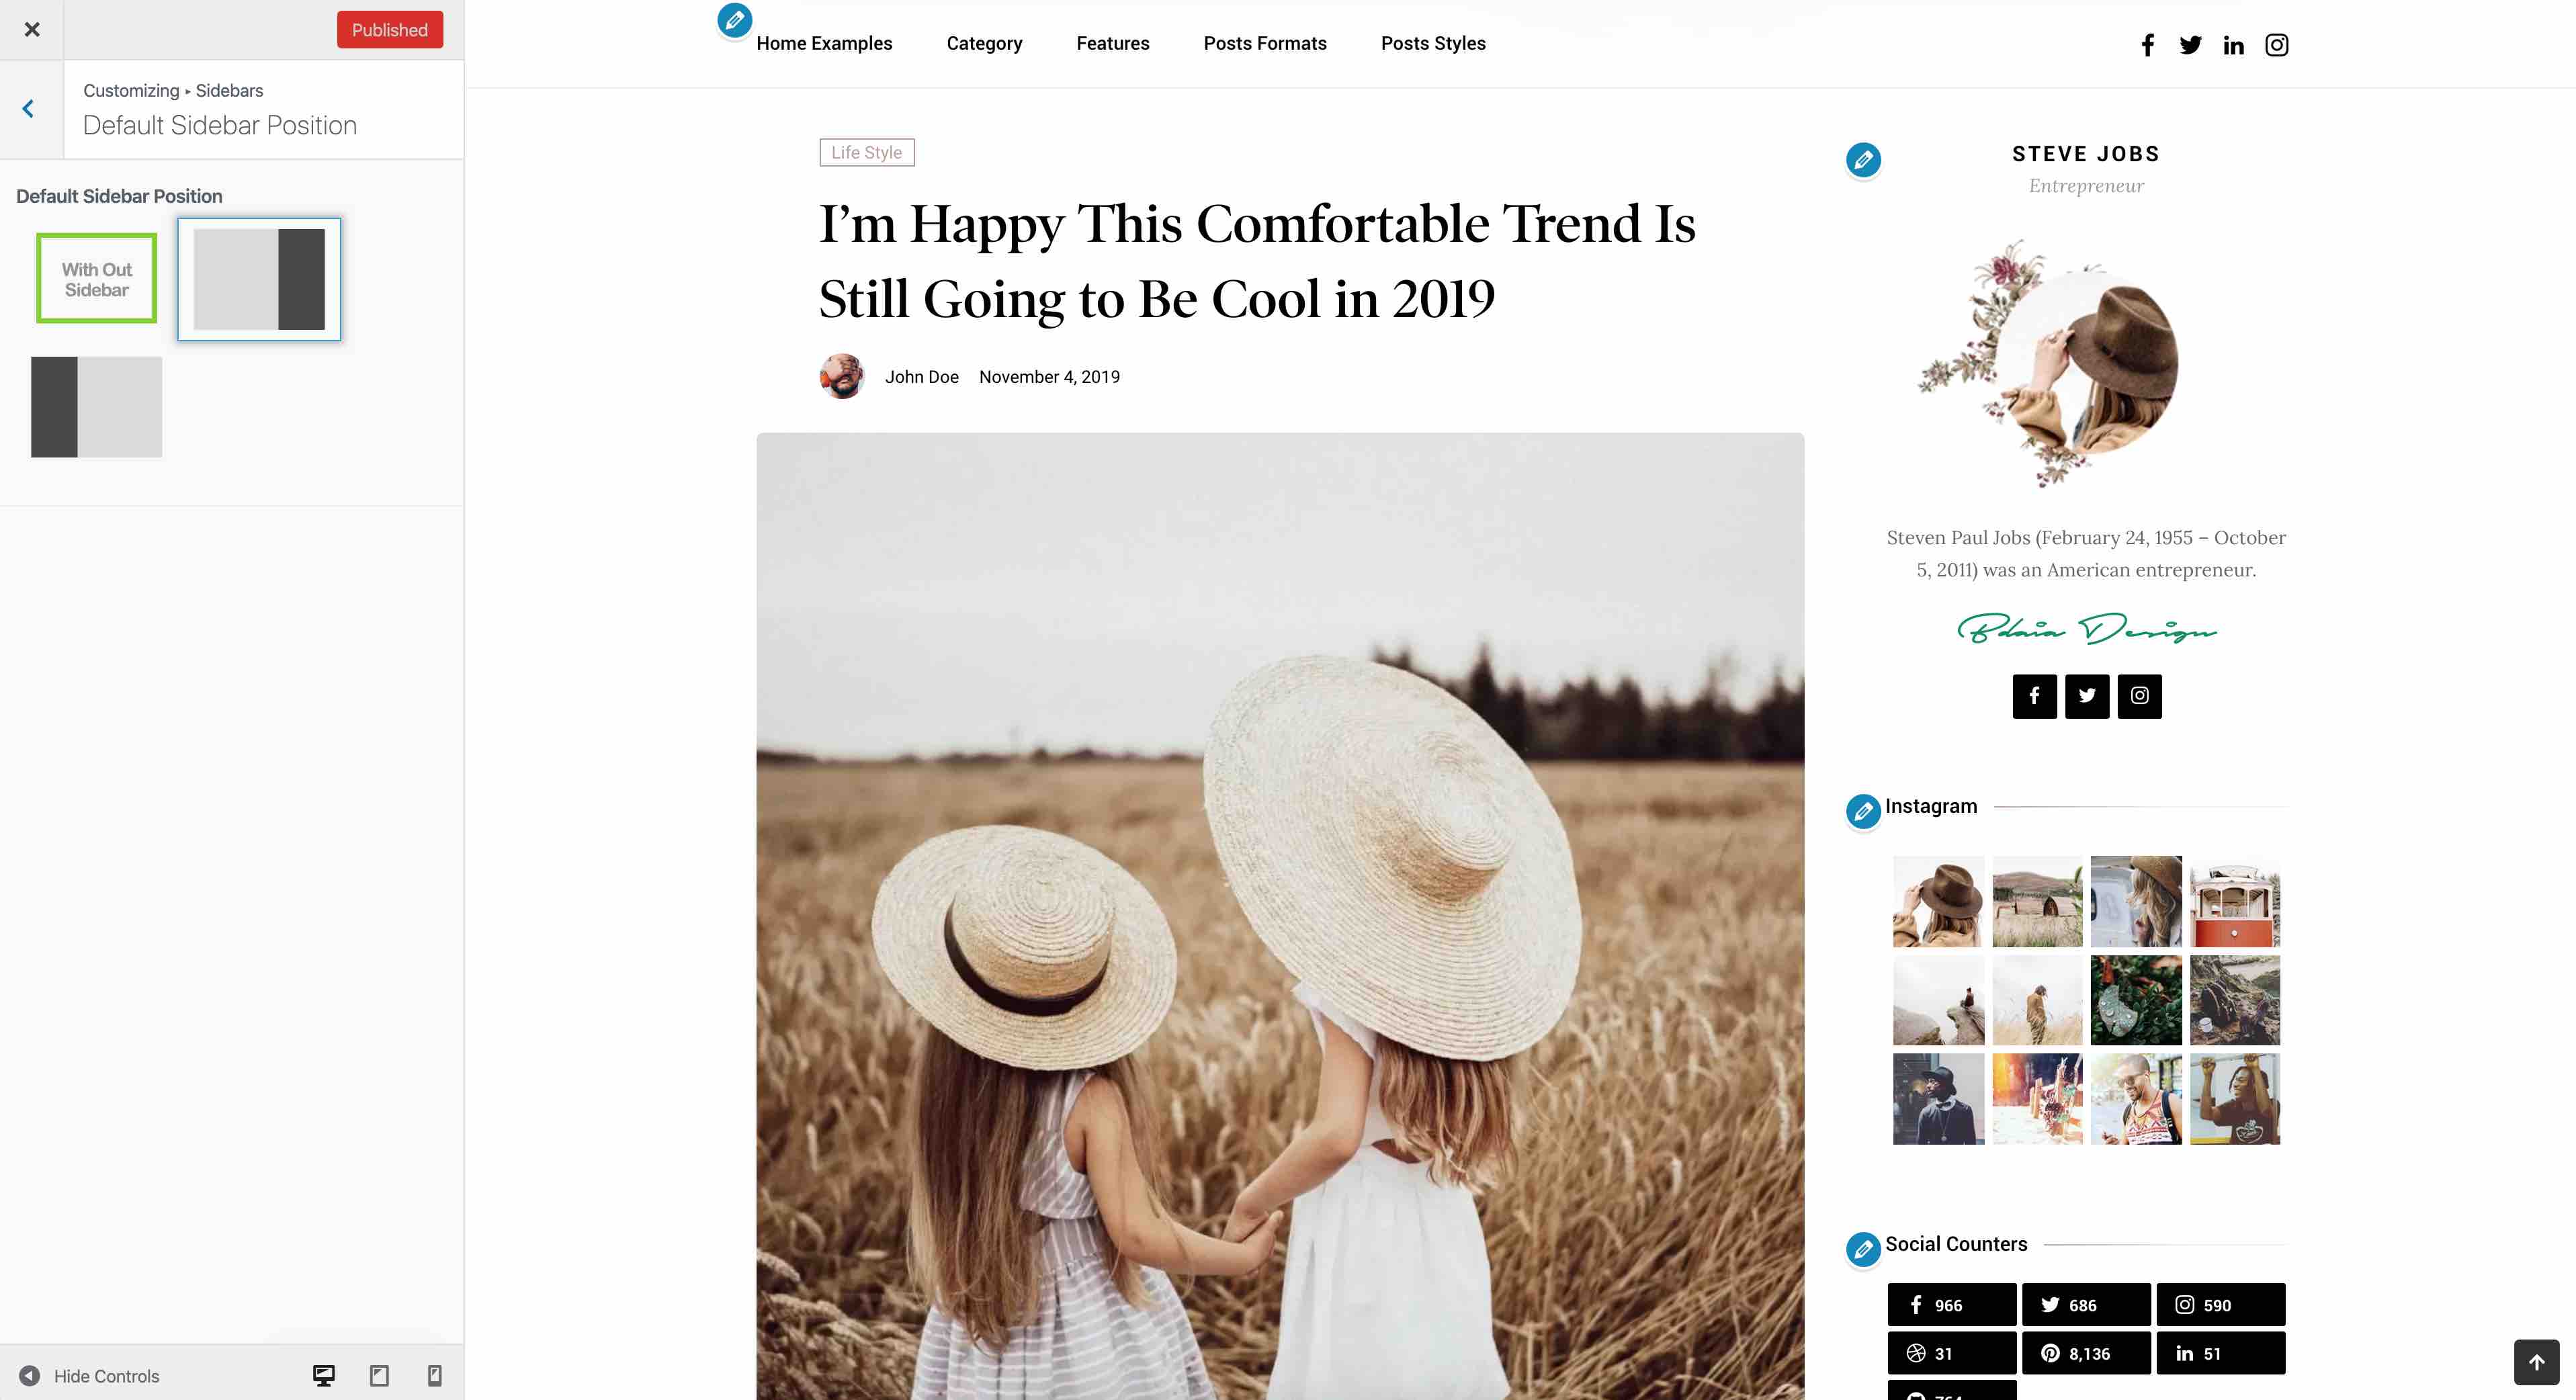
9. Setting up the Sidebars
Navigate to WP Dashboard > Appearance > Customize > Sidebars Sidebars Positions and Enable Sticky Sidebar Option
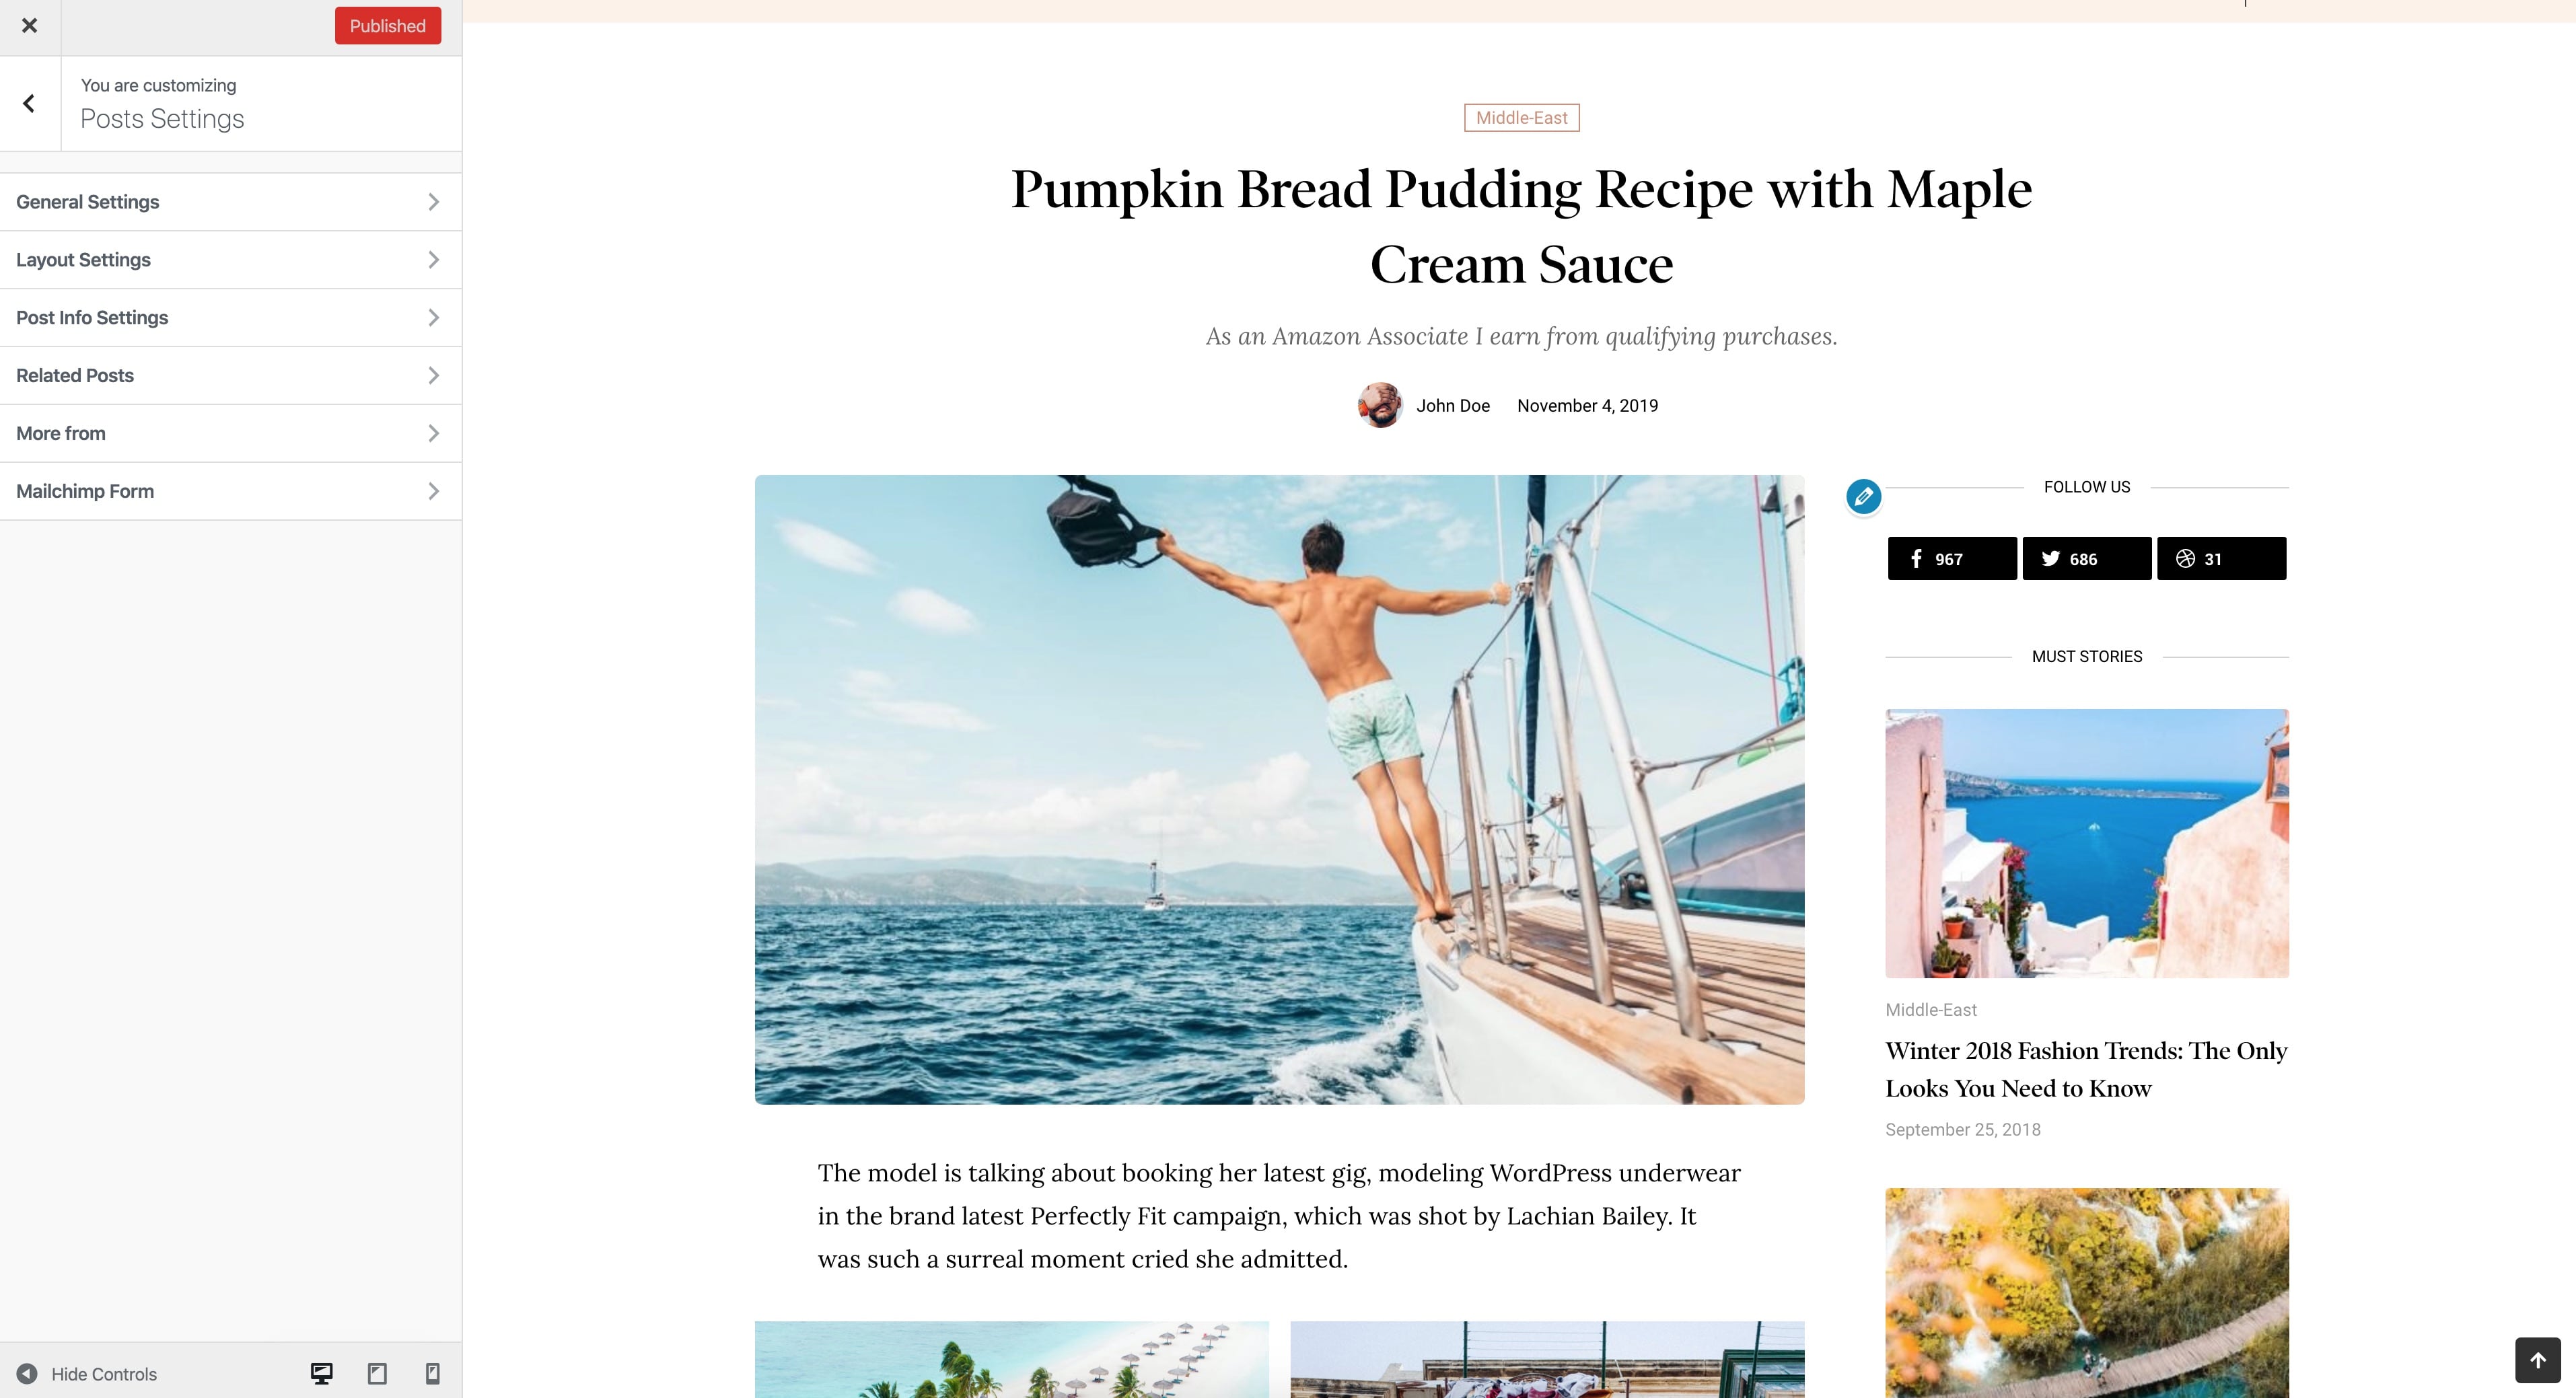
19. Setting up the Single post
1. Navigate to WP Dashboard > Appearance > Customize > Posts Settings
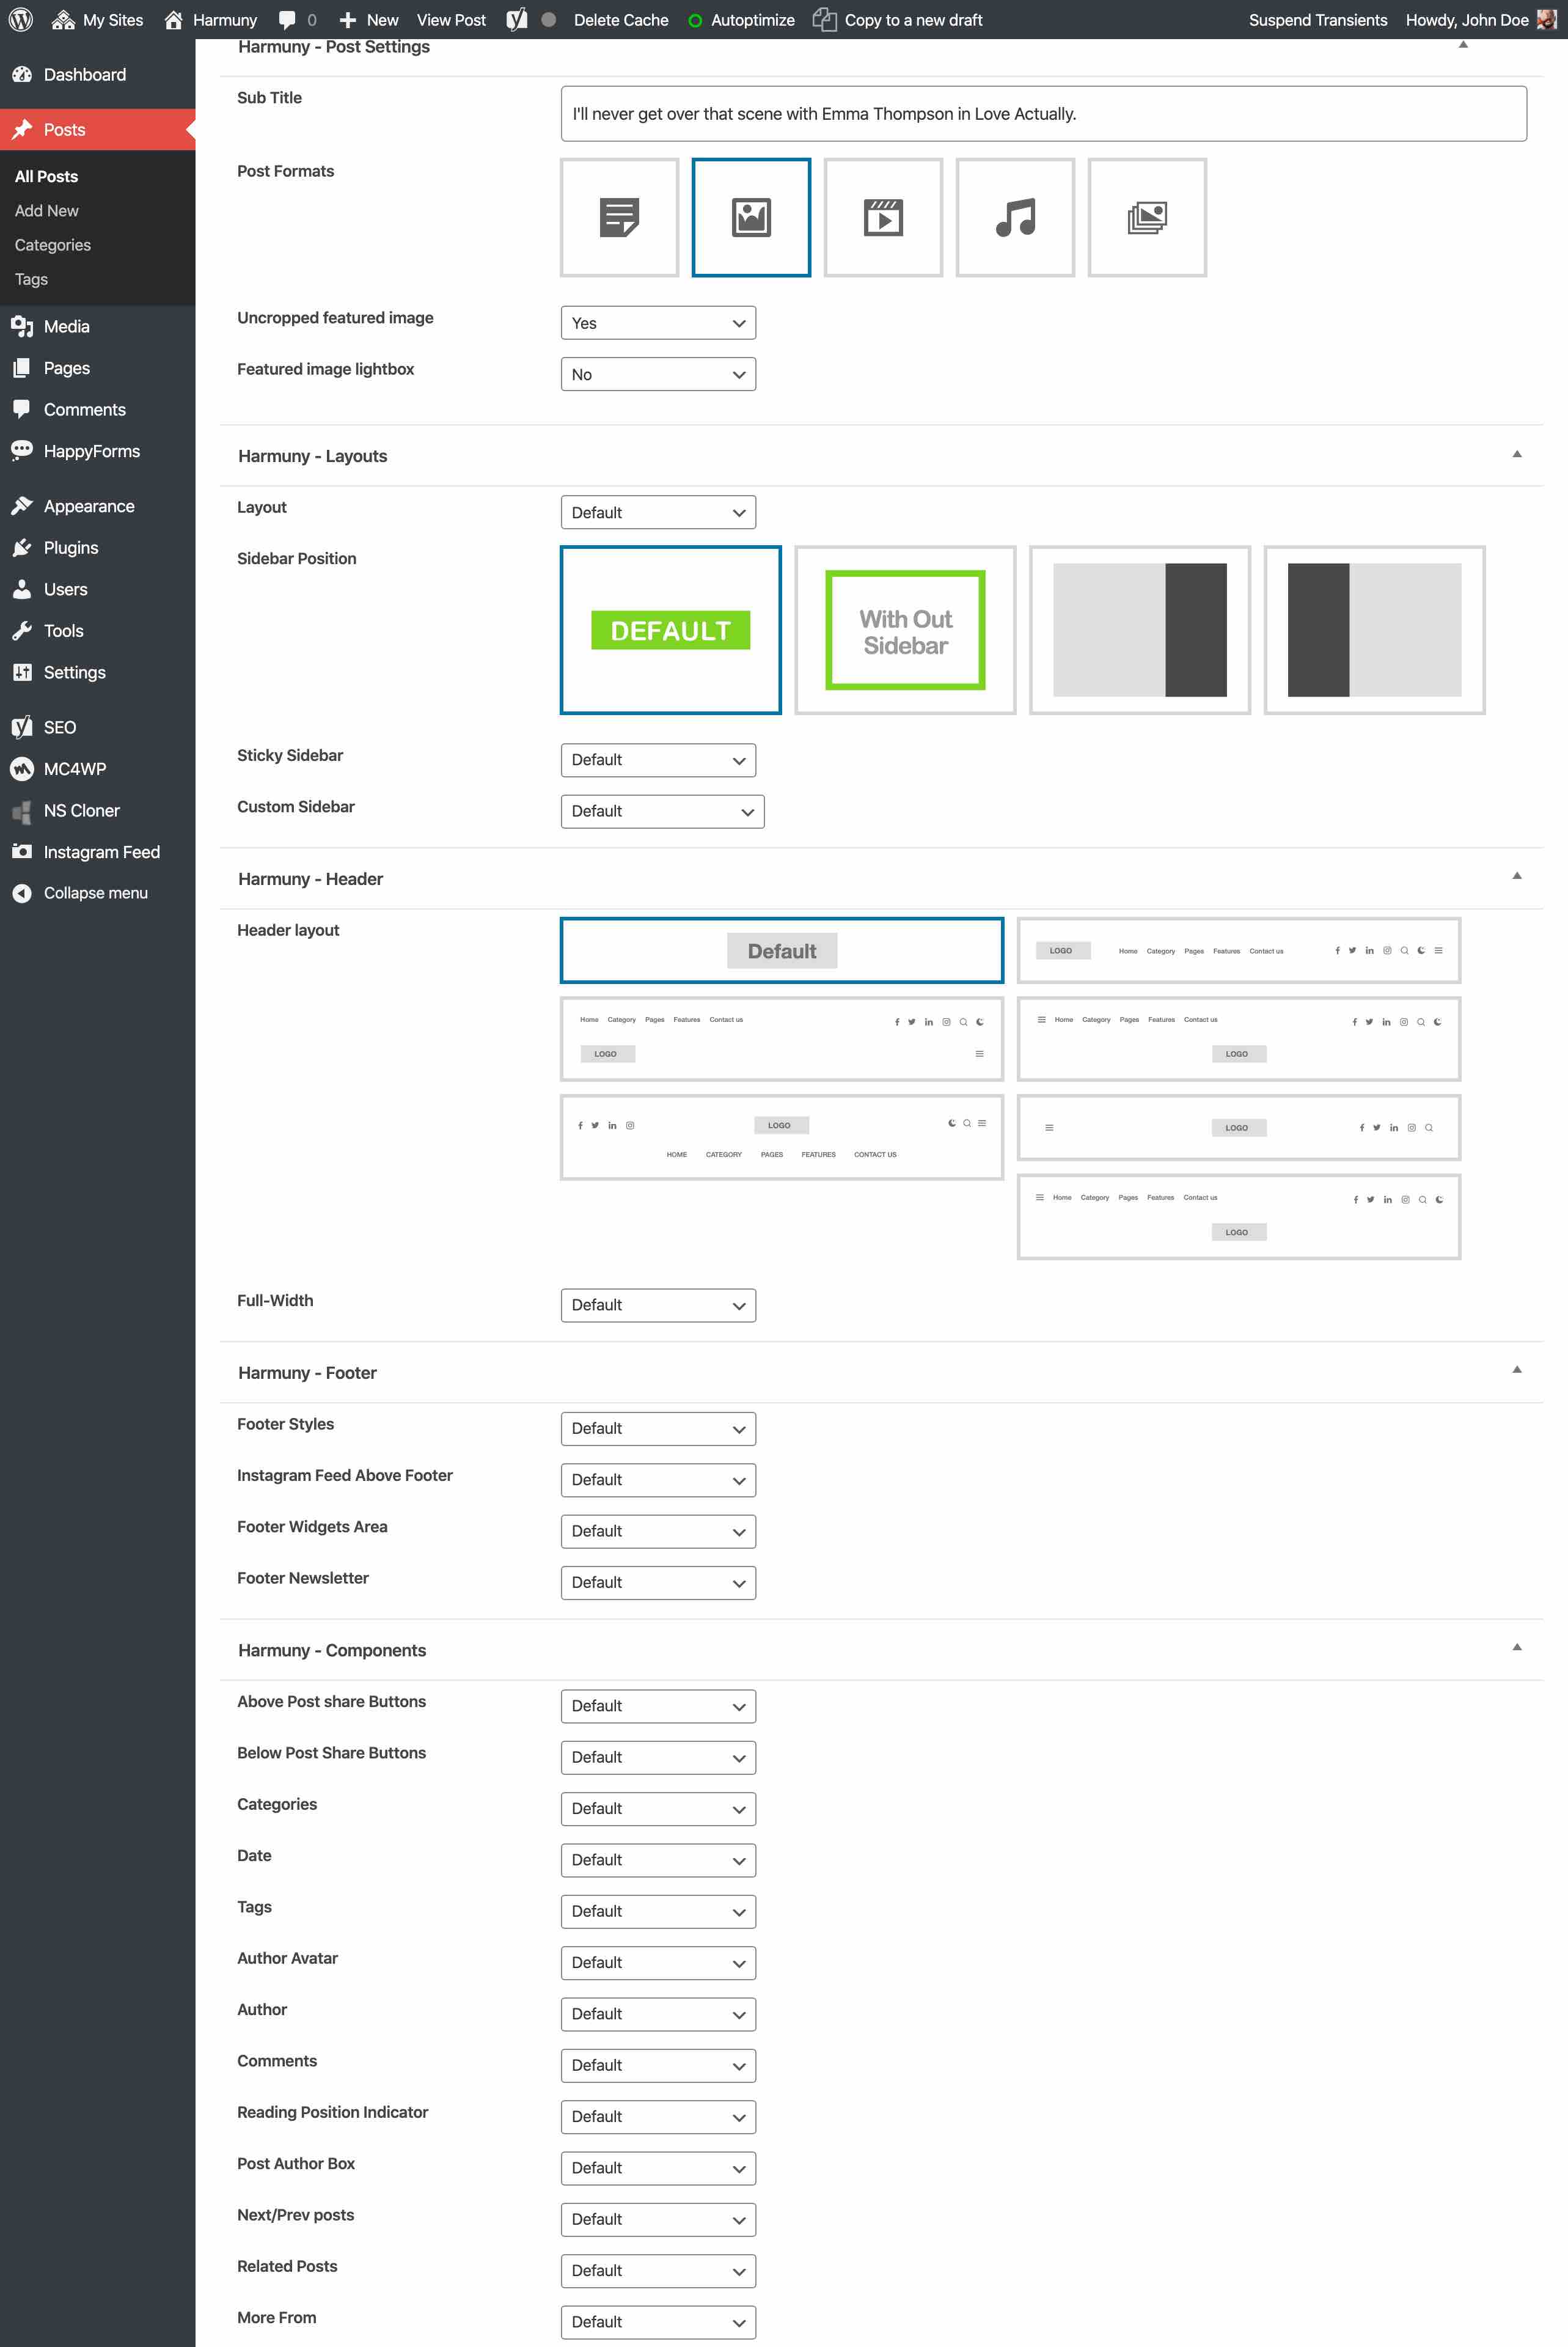
2. Navigate to WP Dashboard > Posts
11. Setting up the Social Icons
Navigate to WP Dashboard > Appearance > Customize > Social Networks
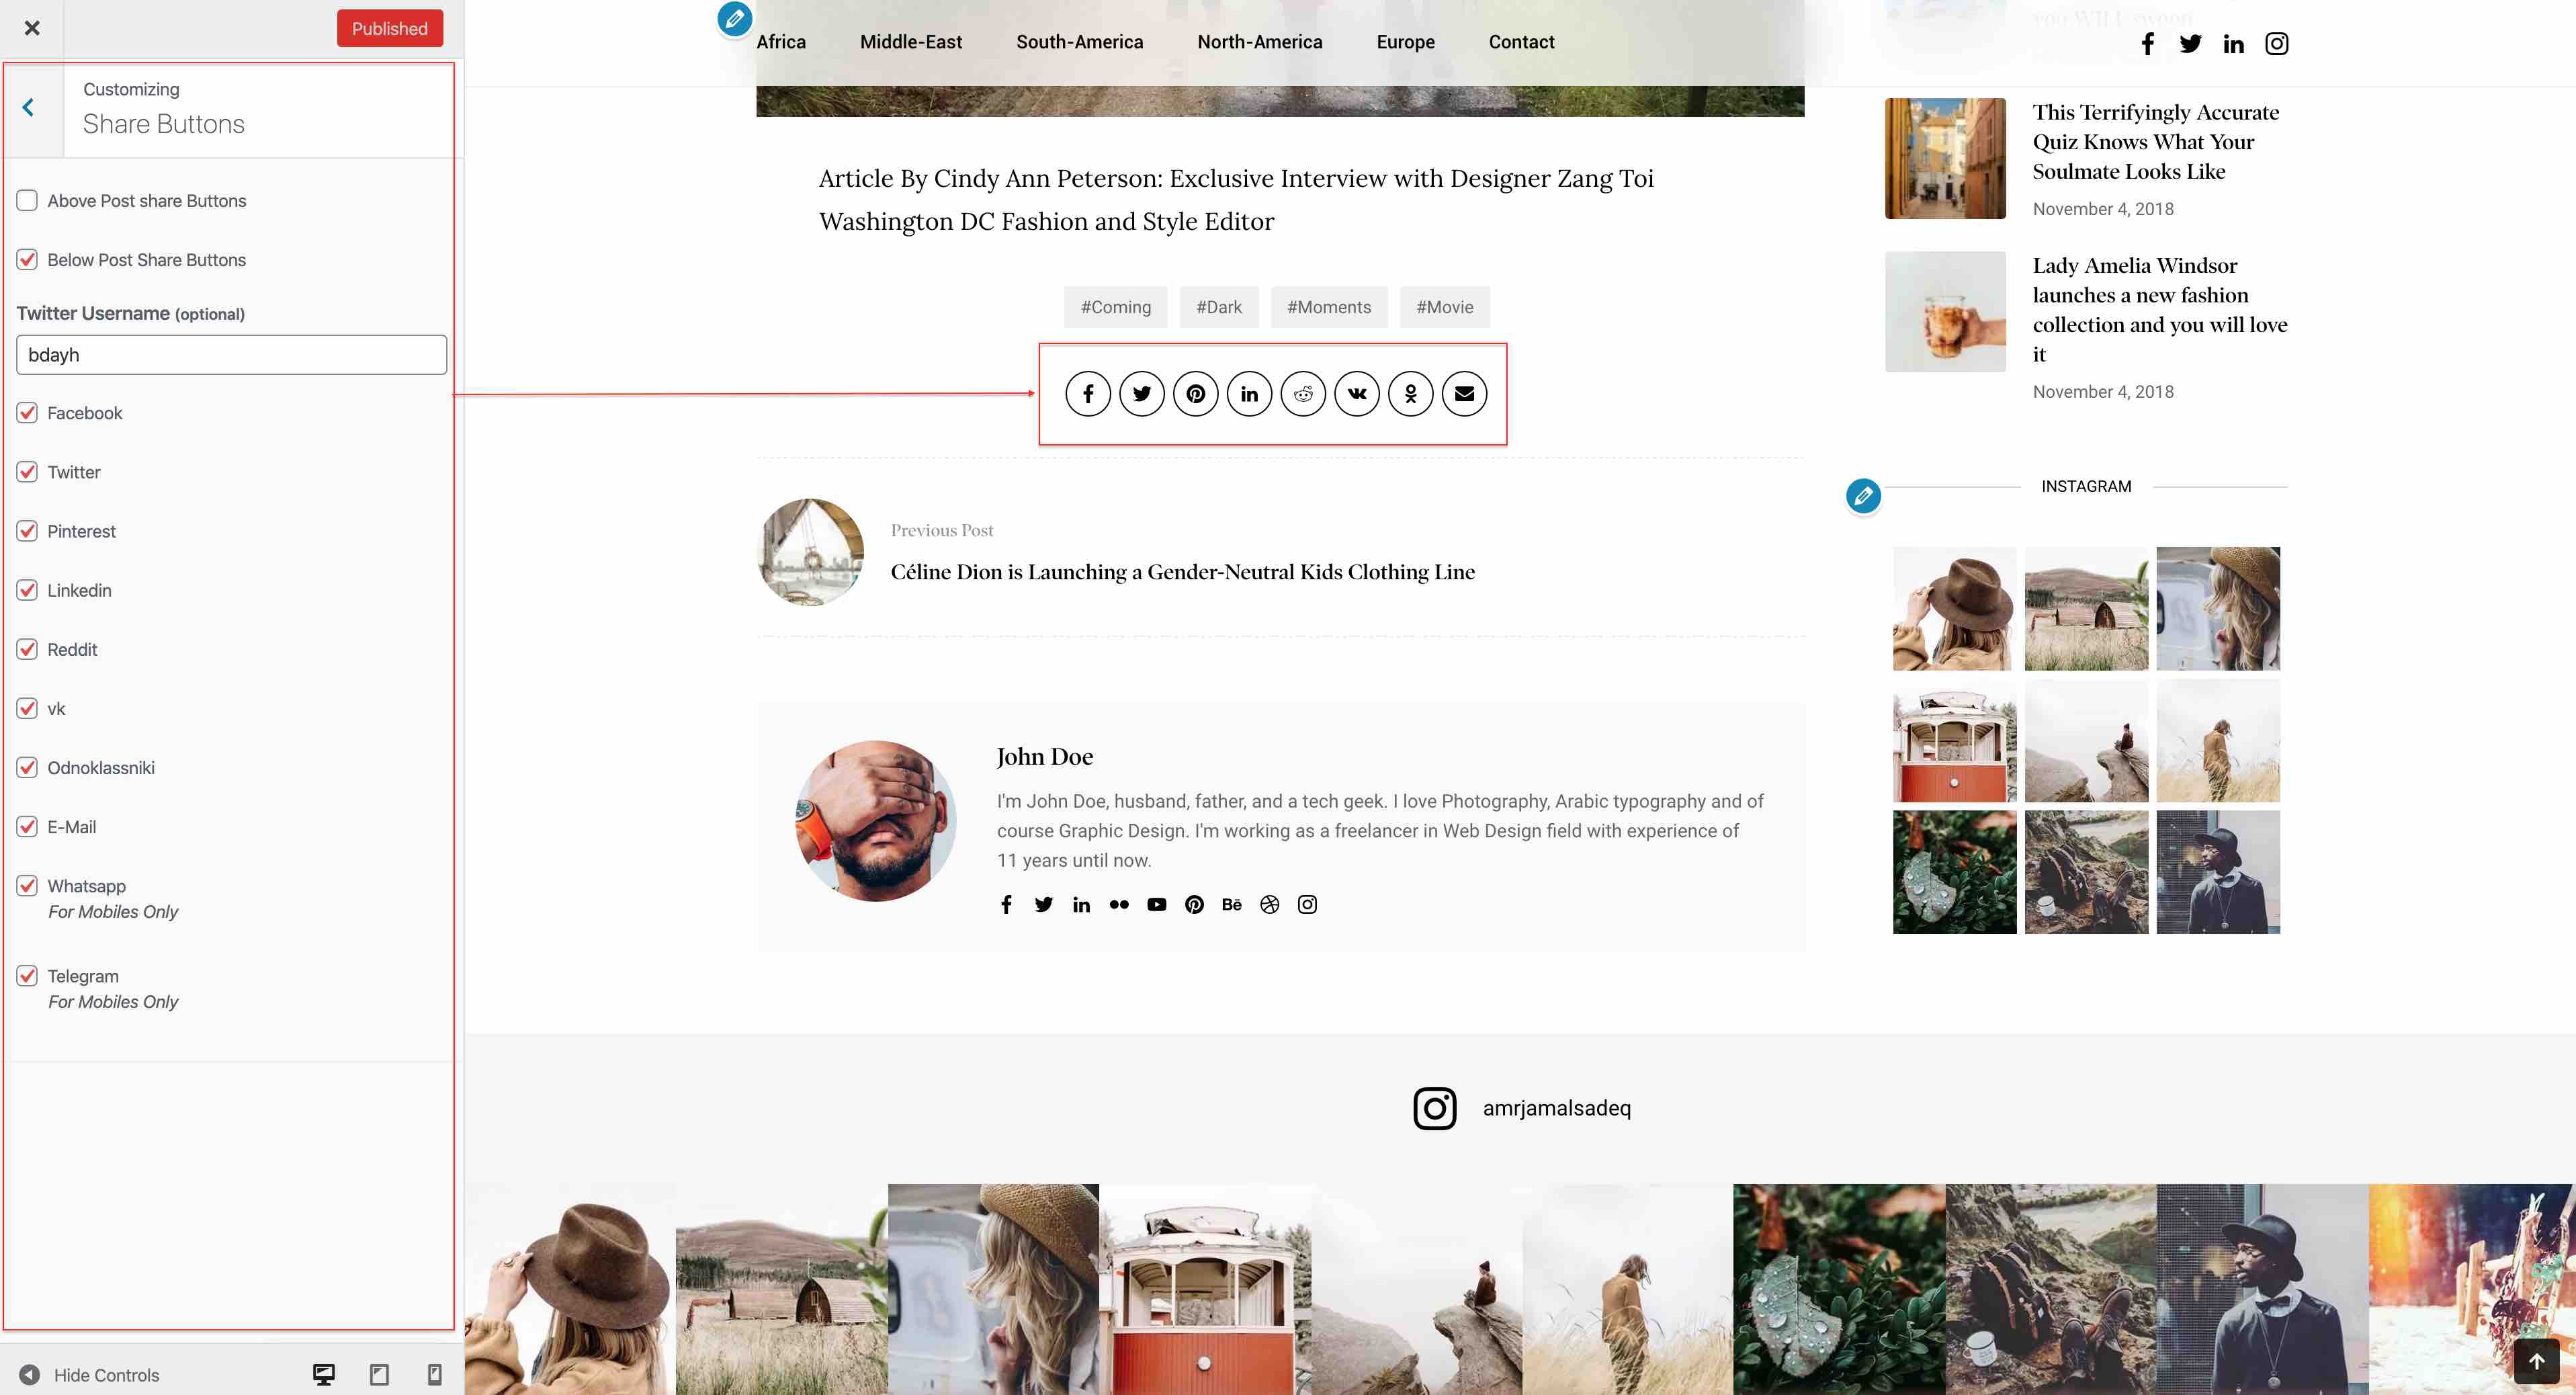
11.2. Share Buttons
Navigate to WP Dashboard > Appearance > Customize > Share Buttons
12. Translations
All of our Themes are able to be translated into any language. The process of translating the theme is a user responsibility. The following instructions are given as guidance.
- Open wp-config.php and replace this:
define ('WPLANG', '');with this (subsitute the language string (bg_BG) with your own!):define ('WPLANG', 'bg_BG'); - Download and install POEDIT
- Connect to your site -> open your theme/languages directory
- Download the default.po file and open it with POEDIT.
- Translate file and save it as bg_BG (the file name must match with the string you inserted into wp-config.php)
- Two files will be generated after save. bg_BG.po and bg_BG.mo
- Upload the .mo and .po files into wp-content/themes/your-theme/languages folder
Your WordPress installation should be in the language you intend on using the site.
How to activate the RTL Version
You just need to install the theme on RTL wordpress blog and it will adjust automatically .. check this page for more informations .
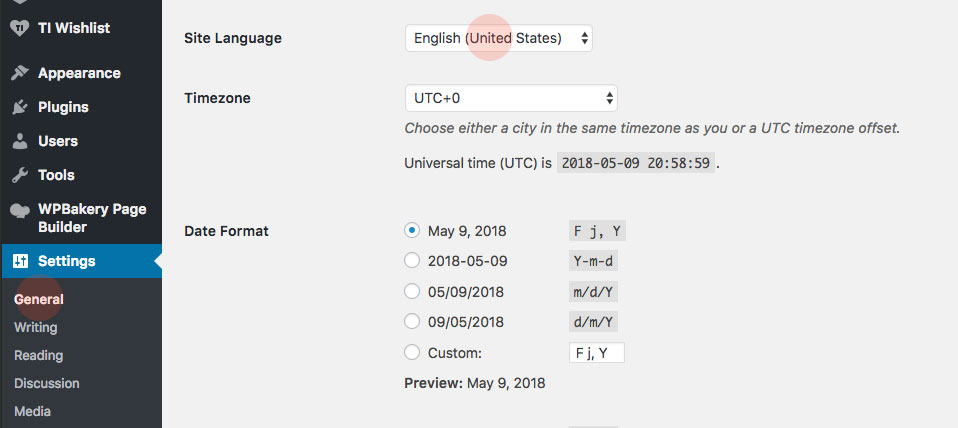
Important info, regarding translation in WordPress 4.1
- Go to (WordPress Dashboard > Settings > General)
- Select your website langauge as shown in this screenshot:
- Connect to your site -> open (wp-content/themes/kolyoum/languages) directory
- Download the default.po file and open it with POEDIT.
- Translate file and save it as bg_BG for example, you must name this file with your language code, check the full list here
- Two files will be generated after save. bg_BG.po and bg_BG.mo
- Upload the .mo and .po files into (wp-content/themes/sahifa/languages) directory
13. How to enhance Pagespeed
Enable the Lazy Load option
Navigate to WP Dashboard > Appearance > Customize > Advanced > Advanced Settings > Enable Lazyload
Optimize Images
Optimizing your images will helps your WordPress site load faster.
Download and activate WP Smush.it This plugin will optimize every image you upload and you can use the Bulk Smush.it feature to smash all of your uploaded images.
Alternatives to WP Smush.it include EWWW Image Optimizer, CW Image Optimizer, Imsanity andHammy. Many WordPress users prefer using these plugins as they do not rely on an external server to process your images.
Enable gzip compression
All modern browsers support and automatically negotiate gzip compression for all HTTP requests. Enabling gzip compression can reduce the size of the transferred response by up to 90%, which can significantly reduce the amount of time to download the resource, reduce data usage for the client, and improve the time to first render of your pages.
To enable gzip compression add the following lines to your .htaccess file:
# Compress HTML, CSS, JavaScript, Text, XML and fonts
AddOutputFilterByType DEFLATE application/javascript
AddOutputFilterByType DEFLATE application/rss+xml
AddOutputFilterByType DEFLATE application/vnd.ms-fontobject
AddOutputFilterByType DEFLATE application/x-font
AddOutputFilterByType DEFLATE application/x-font-opentype
AddOutputFilterByType DEFLATE application/x-font-otf
AddOutputFilterByType DEFLATE application/x-font-truetype
AddOutputFilterByType DEFLATE application/x-font-ttf
AddOutputFilterByType DEFLATE application/x-javascript
AddOutputFilterByType DEFLATE application/xhtml+xml
AddOutputFilterByType DEFLATE application/xml
AddOutputFilterByType DEFLATE font/opentype
AddOutputFilterByType DEFLATE font/otf
AddOutputFilterByType DEFLATE font/ttf
AddOutputFilterByType DEFLATE image/svg+xml
AddOutputFilterByType DEFLATE image/x-icon
AddOutputFilterByType DEFLATE text/css
AddOutputFilterByType DEFLATE text/html
AddOutputFilterByType DEFLATE text/javascript
AddOutputFilterByType DEFLATE text/plain
AddOutputFilterByType DEFLATE text/xml
# Remove browser bugs (only needed for really old browsers)
BrowserMatch ^Mozilla/4 gzip-only-text/html
BrowserMatch ^Mozilla/4\.0[678] no-gzip
BrowserMatch \bMSIE !no-gzip !gzip-only-text/html
Header append Vary User-Agent
Leverage Browser Caching
When a web browser displays your web page it has to load several things like your logo, your CSS file, and other resources. What browser caching does is “remember” the resources that the browser has already loaded. When a visitor goes to another page on your website your logo or CSS file does not need to be loaded again, because the browser has them “remembered”. The end result is that your pages load much faster.
To enable browser caching, add the following lines to your .htaccess file:
## EXPIRES CACHING ##
ExpiresActive On
ExpiresByType image/jpg "access 1 year"
ExpiresByType image/jpeg "access 1 year"
ExpiresByType image/gif "access 1 year"
ExpiresByType image/png "access 1 year"
ExpiresByType text/css "access 1 month"
ExpiresByType text/html "access 1 month"
ExpiresByType application/pdf "access 1 month"
ExpiresByType text/x-javascript "access 1 month"
ExpiresByType application/x-shockwave-flash "access 1 month"
ExpiresByType image/x-icon "access 1 year"
ExpiresDefault "access 1 month"
## EXPIRES CACHING ##
Minify HTML,CSS and JavaScript
Minification refers to the process of removing unnecessary or redundant data without affecting how the resource is processed by the browser – e.g. code comments and formatting, removing unused code, using shorter variable and function names, and so on
To Enable Minify, use the following plugins:
- WP-HTML-Compression ( For HTML )
- Better WordPress Minify ( For CSS and JS )
14. Server Requirements for Kolyoum
To use Kolyoum, please make sure you are running WordPress 4.6 or higher, PHP 5.6 or higher, and MySQL 5.6 or higher (for legacy environments also PHP versions 5.3.x will work but it is recommended to be on at least PHP 5.6 and preferably PHP 7.0. WordPress recommends PHP 7). We have tested it with Mac, Windows and Linux. Below is a list of items you should ensure your host can comply with.
Recommended PHP Configuration Limits
Many issues that you may run into such as: white screen, your demo import fails, empty page content with Fusion Builder and other similar issues are all related to low PHP configuration limits. The solution is to increase the PHP limits. You can do this on your own, or contact your web host and ask them to increase those limits to a minimum as follows:
- max_execution_time 500
- memory_limit 256M
- max_input_time 500
- max_input_vars 5000
- post_max_size 512M
- upload_max_filesize 256M
- allow_url_fopen ON
How To Verify Your Current PHP Limits
You can verify your PHP configuration limits check them by installing a simple plugin WordPress phpinfo(). In addition, you can always contact your host and ask them what the current settings are and have them adjust as needed. Please note that many hosts will try to keep the PHP limits low without reason. However you are paying for it and therefore should be getting your money’s worth.
Server error 500
You clicked on the "Import Demo Data" button and the response from the server was something along the lines of:
Server error 500
Internal server error (500)
The following change in the plugin's default configuration solved the problem: https://github.com/proteusthemes/one-click-demo-import/blob/master/docs/import-problems.md (Change the default time of one AJAX call) The Ruapuke demo contents know is imported.
15. Increasing the WordPress Memory Limit
Increase the limit via PHP.ini file
You can directly increase the PHP Memory Limit if you’ve access to the php.ini file. Most small Shared hosting servers won’t give you access to the php.ini file. But some servers allow you to create a duplicate php.ini in your respective site Directories whose data/values will override the default php.ini values. To do that you just need to create a file with the name php.ini in the directory where your WordPress site is installed. In that just add the command.
memory_limit = 512M
in it to increase the Memory Limit to 512 MB
Changing the Memory Limit via wp-config.php
The wp-config.php file is located in the wordpress root directory.
If you don’t want to mess with the PHP.ini file, then you can go for this method. In this, you won’t be needing to create any extra file in your Directory.
define('WP_MEMORY_LIMIT', '512M');
By default, WordPress tries to increase the PHP memory if detected less than 64MB. However, this is often not high enough. When using multiple plugins and complex theme elements, you will have to go up to 512MB to avoid exhausting the PHP memory.
Increase Menu Limit in WordPress
If you are trying to add another link or page to your WordPress menu and it simply doesn’t save then it is most likely that you have hit the limit for your WordPress navigation menu. Now this limit is actually due to a setting on your server, not WordPress itself. Follow the instructions below to increase the menu limit on your WordPress menu.
Step 1 : There are two ways to change this. One is via your php.ini file, but that will affect your entire server. So I am going to show you how to do this with your .htaccess file. Please note, if virtual hosts are setup the “allow overide” must be enabled for the .htaccess trick to work. So first open up your .htaccess file. It should be located in the root of your site.
Step 2 : By default your .htaccess will most likely look like this below:
# BEGIN WordPress
<IfModule mod_rewrite.c>
RewriteEngine On
RewriteBase /
RewriteRule ^index.php$ - [L]
RewriteCond %{REQUEST_FILENAME} !-f
RewriteCond %{REQUEST_FILENAME} !-d
RewriteRule . /index.php [L]
</IfModule>
# END WordPress
We are going to add a single line towards the top.
php_value max_input_vars 6000
So afterwards your .htaccess file should look like this.
# BEGIN WordPress
php_value max_input_vars 6000
<IfModule mod_rewrite.c>
RewriteEngine On
RewriteBase /
RewriteRule ^index.php$ - [L]
RewriteCond %{REQUEST_FILENAME} !-f
RewriteCond %{REQUEST_FILENAME} !-d
RewriteRule . /index.php [L]
</IfModule>
# END WordPress
Now save your .htaccess file and re-upload it to your server. You should now be able to add more menu items to your WordPress navigation menu.
As always feel free to leave your comments below!
WP Debug
It is an option intended for development, it controls the reporting of some errors and warnings. It may display unwanted messages so you should disable it on your side. The default value is false
define('WP_DEBUG', false);